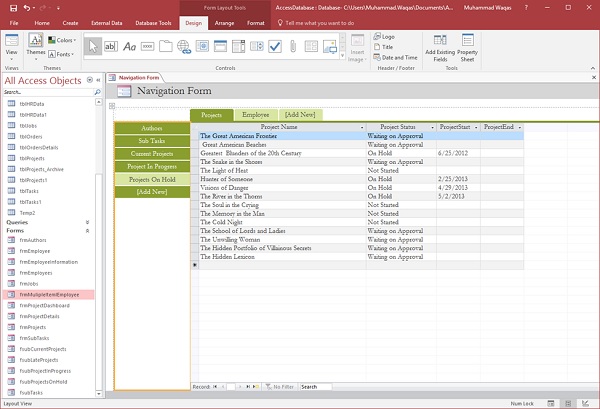
Access includes a Navigation Control that makes it easy to switch between various forms and reports in your database. A navigation form is simply a form that contains a Navigation Control. Navigation forms are a great addition to any desktop database.
- Microsoft Access offers several features for controlling how users navigate the database.
- We have already used navigation pane to navigate through all of the Access objects we create, such as forms, queries, tables, etc.
- If you want to create your own navigational structure and make it easier for the users to find the specific objects that they really need, you can build navigation form, which is a form that uses a navigation control so users can use or view forms and reports right from within that main navigation form.
Example
Let us now take a simple example in which we will create the navigation form. For this, go to the Create tab; in the Forms group, you will see this navigation drop-down menu.
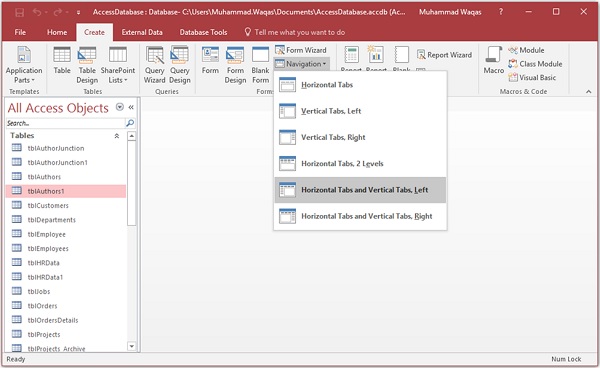
In this menu, you will see different layouts for how to arrange your forms and reports that you would like to embed on this navigation form.
- There is one with horizontal tabs, one with vertical tabs — where all the tabs are aligned to the left, a vertical tabs layout where all the tabs are aligned to the right.
- There is a horizontal tabs layout that has two levels to it, so if you have a lot of objects that you want to display across the top, you can make use of this.
- You can have one where you have both horizontal tabs and vertical tabs, either aligned to the left or to the right.
In the following example, we will be using Horizontal Tabs and Vertical Tabs. To create that layout or that navigation form, simply click on it, and Access will create an unbound form, with a navigation control on it.
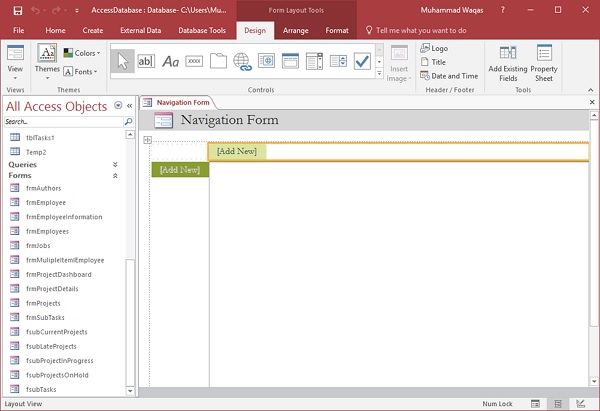
To add objects to this navigation form, the easiest way to do is through your layout view, by simply dragging and dropping objects to where you want them to appear.
Let us now drag frmProjects form from the navigation pane and drop it on the [Add New] on the top.
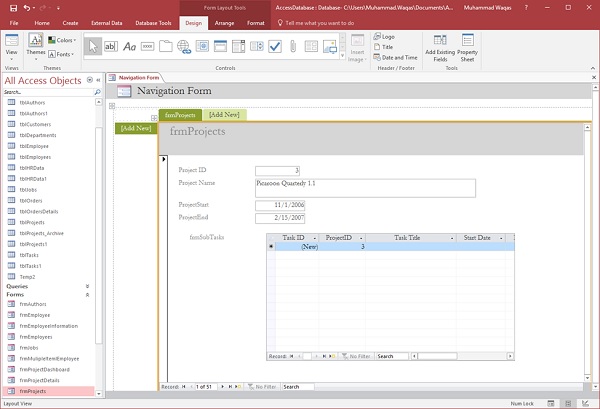
Similarly, drag frmAuthers form from the navigation pane and drop it to the left of the Add New Button.
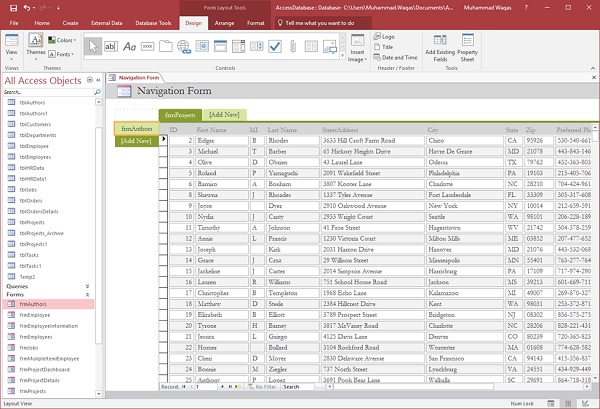
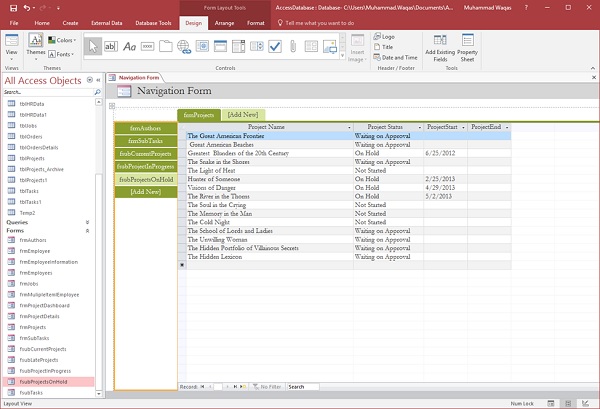
Let us now add other forms related to Projects such as frmSubTasks, frmCurrentProjects etc.
Let us now add additional tabs across the top. We will first add the frmEmployees form.
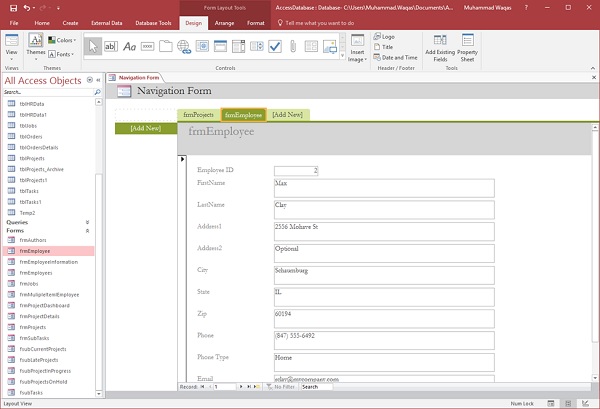
Now, you will see that your other project buttons have disappeared from the left and that is because they are attached to Project tab. All the buttons you view on the left are linked to whatever you have selected up the top. Now with the Employee tab selected, let us drag employees-related information to the left.
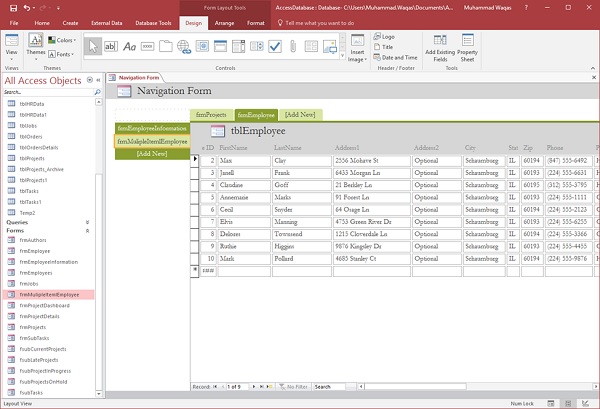
Now we have project information on one tab, employee information on the other. Similarly, you can add more tabs as per your requirements. As you can see that the name of the tabs is not appropriate, so let us start renaming some of these tabs to make them more user-friendly. The easiest way is to double-click on any tab or any button on the left and rename it as shown in the following screenshot.
