


The Microsoft Windows operating system allows users to change the display language from one language to another, including Spanish, French, German, and Arabic. Some restrictions may apply, depending on the version of Windows. Follow the steps below for your version of Windows to change the display language settings.
Windows 10
- Press the Windows key, type Regional & language settings, and then press Enter.
- In the window that appears, click the
 icon.
icon.
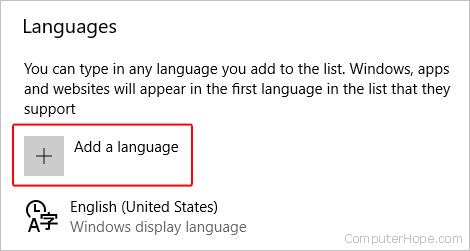
- You may type in a language to add or select from the list.
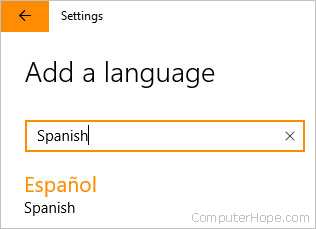
- After you select a language, you’ll be asked to pick a region.
- You should now see the new language under the Languages section.
- Click the new language again and select the
 button.
 - In the screen that appears, under Language options, click the
 button.
 - Once the new language is downloaded, return to the previous screen.
- Click the new language again and then the Set as default button.
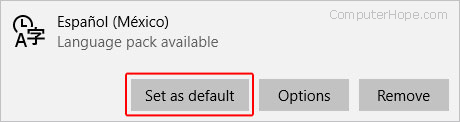
- Restart your computer to display the new language.
Windows 8
- Open the Control Panel.
- Under the Clock, Language, and Region section, click the Add a language link.
- Under Change your language preferences, click the Add a language option.
- Select the language you want to add and click the Add button.
Note
Some languages have sub-options or different dialects you need to choose. If the Add button changes to “Open,” you need to select a sub-option for that language.
- The selected language is added to the language list. To make the added language the primary language, click the language in the list and click Move up until it’s at the top.
The language pack you added may need to be downloaded and installed in Windows 8 before it can be used. Next to the language name, if it says “Windows display language: Available for download,” follow the steps below.
- Click the Options link to the right of the language name.
- Click the Download and install language pack link under the Windows display language section.
- After that process has download and install process is completed, restart the computer for the new display language to take effect.
Windows 7 and Vista
Note
Changing the language in Windows 7 requires you to have the Ultimate edition or Enterprise edition. Home and Professional editions do not have the language option.
In Windows 7, you first need to download and install the language pack you want to use. Then you can select and change the display language.
Download and install language pack
- Open the Start menu and navigate to All Programs > Windows Update.
- Click the Optional Updates option.
- Check the box for the language pack you want to download and install, then click OK.
- Run the Install Updates process to download and install the language pack.
Change display language
- Open the Control Panel.
- Click the Clock, Language, and Region option.
- Click the Change the display language link.
- In the Choose a display language drop-down list, select the language you to use as the display language and click OK.
- Restart the computer for the new display language to take effect.