

Insert Tab
Tables
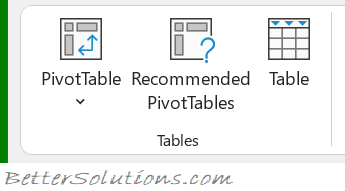
PivotTable – Button with Drop-Down. Displays the “PivotTable from table or range” dialog box. The drop-down contained the commands: PivotTable and PivotChart. The PivotTable displayed the “Create PivotTable” dialog box and the PivotChart displayed the “Create PivotTable and PivotChart” dialog box.
Recommended PivotTables – Displays the “Recommended PivotTables” dialog box. This shows a list of customized pivot tables that are best for your data. If there are no recommendations then a blank pivot table is created.
Table – (Ctrl + T). Displays the “Create Table” dialog box. When you define your data as a table it makes it easier to sort, filter and apply formatting.
Illustrations
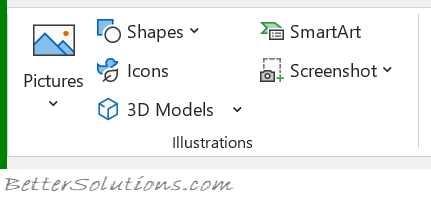
Pictures – (Changed in 365). Drop-Down. The drop-down contains the commands: This Device, Stock Images and Online Pictures. This Device displays the “Insert Picture” dialog box allowing you to browse to a file. Stock Images displays the Stock Image library dialog box. Online Pictures allows to you to browse images online.
Shapes – Drop-Down. The drop-down contains the commands: Recently Used Shapes, Lines, Rectangles, Basic Shapes, Block Arrows, Equation Shapes, Flowchart, Stars and Banners and Callouts.
Icons – Displays the “Insert Icons” dialog box. Insert an icon to visually communicate using symbols.
3D Models – Drop-Down. Insert a 3D model so you can rotate it and see it from all angles. The drop-down contains the commands: From a File and From Online Sources.
SmartArt – Displays the “Choose a SmartArt Graphic” dialog box which lets you choose from the following different types of SmartArt: List, Process, Cycle, Hierarchy, Relationship, Matrix, Pyramid, Picture and Office.com.
Screenshot – Drop-Down. The drop-down contains the commands: Available Windows and Screen Clipping. (Added in 2010).
Online Pictures – (Removed in 2021). Moved to the Pictures drop-down.
Add-ins
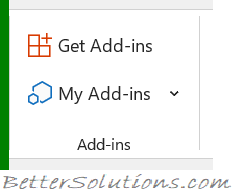
Get Add-ins – Displays the Office Add-ins window allowing you to see all the add-ins in the Office store.
My Add-ins – Button with Drop-Down. Displays the Office Add-ins window showing you all the add-ins you have currently installed.
Charts
You can quickly display the “Insert Chart” dialog box by selecting your data and clicking on the dialog box launcher in the bottom right corner of the group. If a chart is active the “Change Chart Type” dialog is displayed.
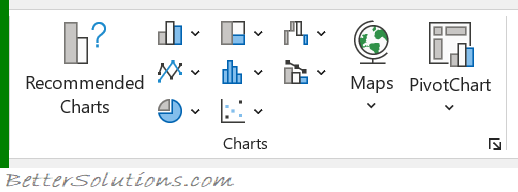
Recommended Charts – Displays the “Insert Chart” dialog box (Recommended Charts tab).
Column or Bar – Drop-Down. The drop-down contains the commands: 2-D Column, 3-D Column, 2-D Bar, 3-D Bar and More Column Charts.
Line or Area – Drop-Down. The drop-down contains the commands: 2-D Line, 3-D Line, 2-D Area, 3-D Area and More Line Charts.
Pie or Doughnut – Drop-Down. The drop-down contains the commands: 2-D Pie, 3-D Pie, Doughnut and More Pie Charts.
Hierarchy – Drop-Down. The drop-down contains the commands: Tree map, Sunburst and More Hierarchy Charts.
Statistic – Drop-Down. The drop-down contains the commands: Histogram, Box and Whisker and More Statistical Charts.
Scatter XY or Bubble – Drop-Down. The drop-down contains the commands: Scatter, Bubble and More Scatter Charts.
Waterfall, Funnel, Stock, Surface or Radar – This drop-down contains the commands: Waterfall, Funnel, Stock, Surface, Radar and More Stock Charts.
Combo – Drop-Down. Use a combo chart when the range of values in the chart varies widely or you have mixed types of data. The drop-down contains the commands: Clustered Column-Line, Clustered Column-Line (secondary axis), Stacked Area Clustered Column or Create Custom Combo Chart.
Maps – Drop-Down. The drop-down contains the commands: Filled Map and More Map Options.
PivotChart – Button with Drop-Down. The button displays the “Create PivotChart” dialog box. The drop-down contains the commands: PivotChart and PivotChart and PivotTable.
Tours
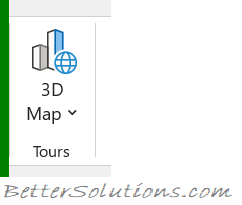
3D Map – Button with Drop-Down. The button displays the “Power Maps for Excel” window. The drop-down contains the commands: Launch Power Map and Add Selected Data to Power Map. Allows you to create data visualizations in your workbooks. You must enable the Data Analysis add-ins to use this feature.
In Excel 2013 this functionality was made available by installing the Power Map add-in.
Reports
In Excel 2016 this group was removed.
In Excel 2013 this group is only displayed if you have the Power View add-in loaded.
Sparkline
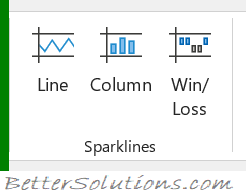
Line – Displays the “Create Sparkline” dialog box which lets you insert a line chart within a single cell.
Column – Displays the “Create Sparkline” dialog box which lets you insert a column chart within a single cell.
Win/Loss – Displays the “Create Sparkline” dialog box which lets you insert a win/loss chart within a single cell.
Filters
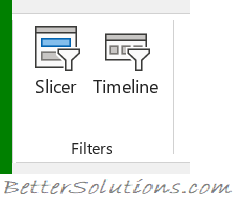
Slicer – Filter dates in your Tables. Exactly the same command can be found on the Table Tools – Design Tab.
Timeline – Filter dates in your tables, pivot tables and pivot charts.
Links

Link – Button with Drop-Down. (Ctrl + K). Displays the “Insert Hyperlink” dialog box. The drop-down contains a list of recent items. Previously called Hyperlink.
Comments
Comment – Insert a note into the active cell.
Text
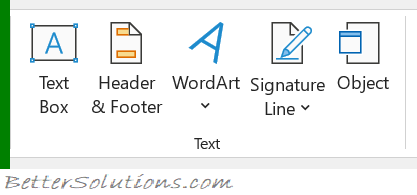
Text Box – Inserts a textbox that can be positioned anywhere on the page.
Header & Footer – Switches to Page Layout view and automatically puts your cursor in the header box. This will then display the “Header & Footer Tools – Design” contextual tab. To exit just click out of the header or footer.
WordArt – Drop-Down. Gives you a choice of Word Art styles to insert. The drop-down contains a gallery of different styles.
Signature Line – Button with Drop-Down. The button inserts a signature line that specifies the individual who must sign. The drop-down displays the commands: Microsoft Office Signature Line and Add Signature Services.
Object – Displays the “Object” dialog box allowing you to insert embedded objects.
Symbols
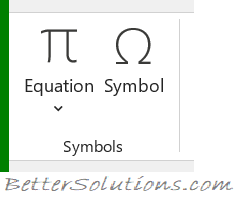
Equation – Drop-Down. The drop-down contains the commands: Area of Circle, Binomial Theorem, Expansion of a Sum, Fourier Series and Insert New Equation.
Symbol – Displays the “Symbol” dialog box.
Page Layout Tab
Themes
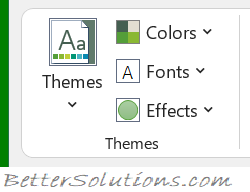
Themes – Drop-Down. Changes the overall look and feel of your workbook including colors, fonts and effects. The drop-down contains the commands: Built-in, More Themes on Microsoft Office Articles (Removed in 2010), Browse for Themes and Save Current Theme. The built-in themes are: Office, Facet, Integral, Ion, Boardroom, Organic, Retrospect, Slice, Wisp, Berlin and Frame. Tooltip indicates the current theme. The default theme is “Office”.
Colors – Drop-Down. Displays a list of all the available colors and lets you change the color component of the active theme. The drop-down contains the commands: Built-in and Customize Colors.
Fonts – Drop-Down. Displays a list of all the available fonts and lets you change the font component of the active theme. The drop-down contains the commands: Built-in and Customize Fonts.
Effects – Drop-Down. Displays a list of all the available effects and lets you change the effect component of the active theme. The drop-down contains the commands: Office, Office 2007-2010, Subtle Solids, Banded Edges, Smokey Glass, Glow Edge, Grunge Texture, Frosted Glass, Top Shadow, Inset, Milk Glass, Rib let, Reflection, Extreme Shadow, Glossy.
Page Setup
You can quickly display the “Page Setup” dialog box, Page tab, by clicking on the launcher in the bottom right corner of this group.
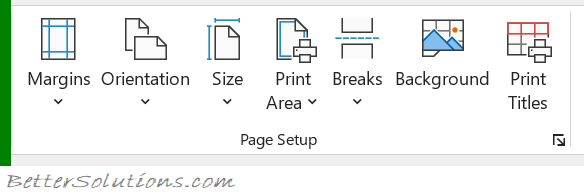
Margins – Drop-Down. Lets you choose from one of your built-in margin settings or lets you customise your own. The drop-down contains the commands: Normal, Wide, Narrow and Custom Margins. The Custom Margins displays the “Page Setup” dialog box, Margins tab.
Orientation – Drop-Down. Lets you switch between Portrait and Landscape.
Size – Drop-Down. Lets you select from all the different available paper sizes. The More Paper Sizes displays the “Page Setup” dialog box, Page tab.
Print Area – Drop-Down. This drop-down contains the commands: Set Print Area and Clear Print Area.
Breaks – Drop-Down. This drop-down contains the commands: Insert Page Break, Remove Page Break and Reset All Page Breaks.
Background – Displays the “Sheet Background” dialog box to let you add a background image to the back of a worksheet. This caption changes to ‘Delete Background’ if an image is assigned to the active worksheet.
Print Titles – Displays the “Page Setup” dialog box, Sheet tab. This allows you to enter rows or columns to repeat.
Scale to Fit
You can quickly display the “Page Setup” dialog box, Page tab, by clicking on the launcher in the bottom right corner of this group.
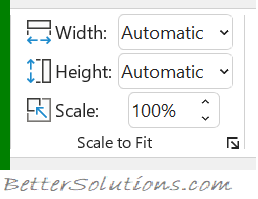
Width – Choice of 1 to 9 pages. The combo box contains Automatic, 1 to 9 pages and More Pages. The More Pages displays the “Page Setup” dialog box, Page tab. Provides a shortcut to (Page Setup)(Page tab, Scaling).
Height – Choice of 1 to 9 pages. The combo box contains Automatic, 1 to 9 pages and More Pages. The More Pages displays the “Page Setup” dialog box, Page tab. Provides a shortcut to (Page Setup)(Page tab, Scaling).
Scale – Changes the page scale in increments of 5%. Provides a shortcut to the (Page Setup)(Page tab, Scaling).
Sheet Options
You can quickly display the “Page Setup” dialog box, Sheet tab, by clicking on the launcher in the bottom right corner of this group.
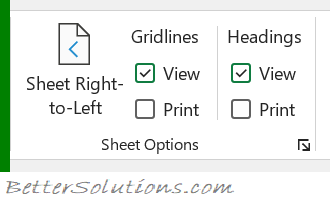
Sheet Right to Left – (Added in 365). Switch the sheet direction to the first column is on the right hand side.
Gridlines View – Toggles the display of gridlines on the active worksheet. Provides a shortcut to (Page Setup)(Sheet tab, “Gridlines”).
Gridlines Print – Toggles whether the gridlines are printed. Provides a shortcut to (Excel Options)(Advanced tab, “Show gridlines”).
Headings View – Toggles the displays of row and column headers on the active worksheet. Provides a shortcut to (Excel Options)(Advanced tab, “Show row and column headers”).
Headings Print – Toggles whether the row and column headers are printed. Provides a shortcut to (Page Setup)(Sheet tab, “Row and column headings”).
Arrange
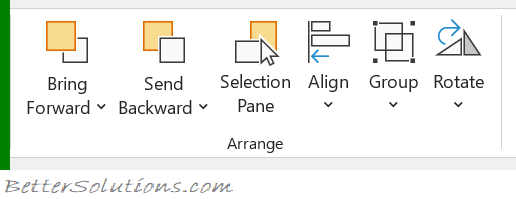
This whole group also appears on the Drawing Tools – Format Tab, Picture Tools – Format Tab.
Bring Forward – Button with Drop-Down. The button brings the selected object forward one level. The drop-down contains the commands: Bring to Front and Bring Forward. Bring to Front will bring the selected object in front of all the other objects.
Send Backward – Button with Drop-Down. The button brings the selected object back one level. The drop-down contains the commands: Send to Back and Send Backward. Send to Back will send the selected object to the back of all the other objects.
Selection Pane – Drop-Down. Displays the Selection Task Pane.
Align – Drop-Down. This drop-down contains the commands: Align Left, Align Center, Align Right, Align Top, Align Middle, Align Bottom, Distribute Horizontally, Distribute Vertically, Snap to Grid, Snap to Shape, View Gridlines.
Align (Word extras) Align to Page, Align to Margin, Align Selected Objects, View Gridlines and Grid Settings.
Align (PowerPoint extras) Align to Slide, Align Selected Objects, View Gridlines and View Settings.
Group – Drop-Down. This drop-down contains the commands: Group, Regroup and Ungroup.
Rotate – Rotate or flip the selected object. Drop-Down. This drop-down contains the commands: Rotate Right 90, Rotate Left 90, Flip Vertical, Flip Horizontal and More Rotation Options.