

In this chapter, we will learn how to format reports. You will find that there are a lot of similarities between formatting reports and formatting forms but there are a few tools and tricks that are specific to reports. Let us now look into the concept of report sections and grouping.
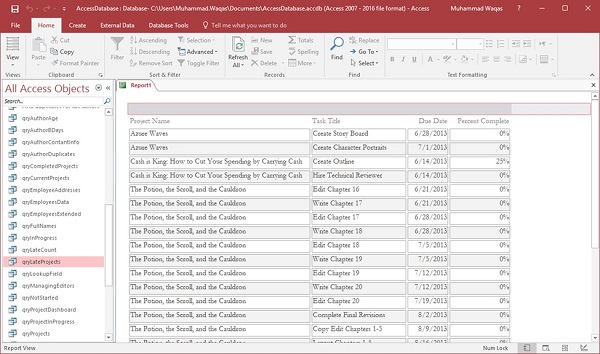
For this, we need to open a report that we created in the last chapter. Here, we will see how some of this information is displayed on the report.

Here, we will start with the report section and grouping.
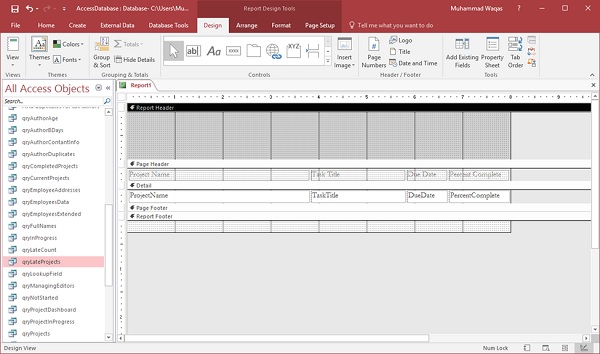
Let us now go to the Design view of this report.

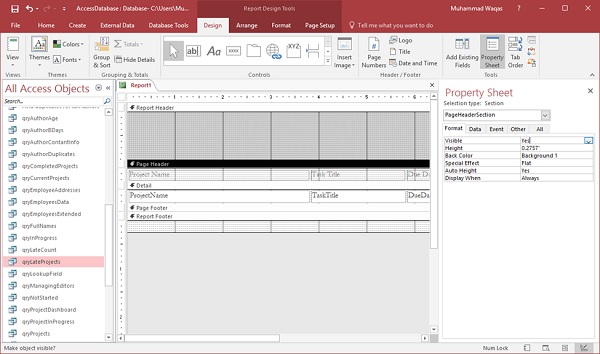
You can see that there’s not a lot to look and here only page header, details section, and page footer are visible. You can add an additional couple of sections very easily.
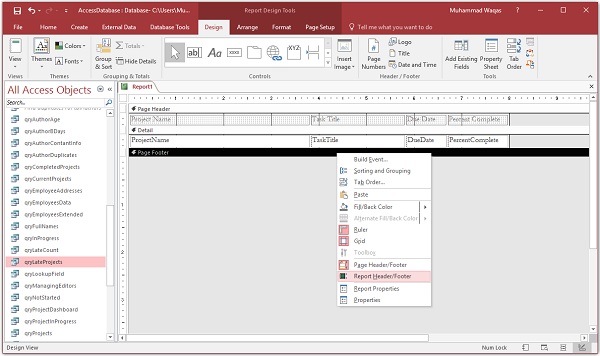
Right click anywhere on that report and you will see Page Header/Footer and Report Header/Footer. This particular report does not have that Report Header/Footer visible. Let us select that option and go back to the Report View.
You can see it just adds a little colored area at the very top of the report. In the Design View, expand that area by hovering the mouse right at the top of that page header divider, clicking and dragging down. This will add more area to the report header.
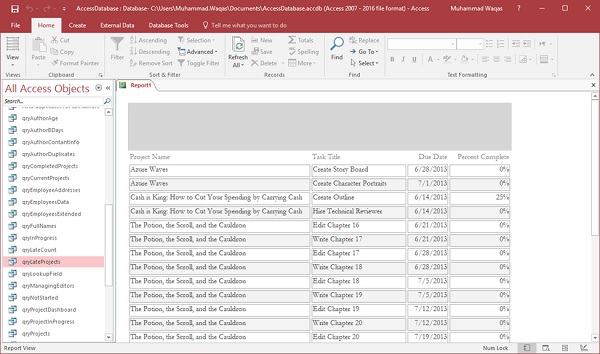
In the Report View, you will now see more area at the very top of the report as in the following screenshot.
The Report Header and Footer controls appear at the top of the first page of that report. The report footer controls what you see at the very last page at the bottom of the report.

The Report Header and Footer is different from your Page Header and Page Footer. Anything that is placed in the Page Header will appear at the top of every page. Likewise, anything that is placed in the Page Footer will repeat at the bottom of every page.
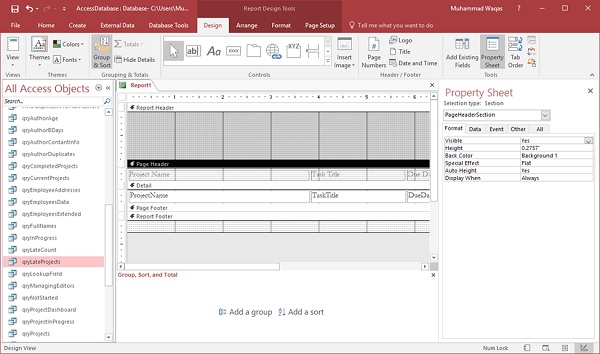
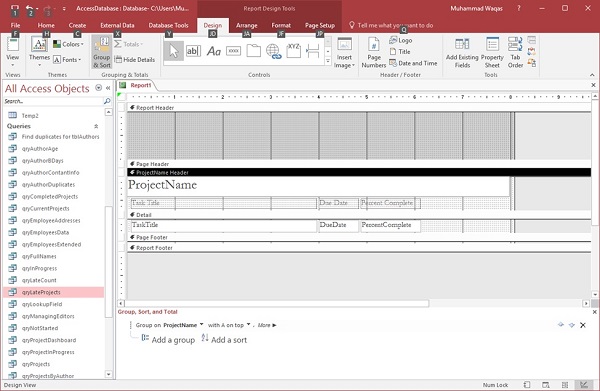
Now you can add additional grouping levels, and to do that, you want to make sure you have the group sort and total area turned on.
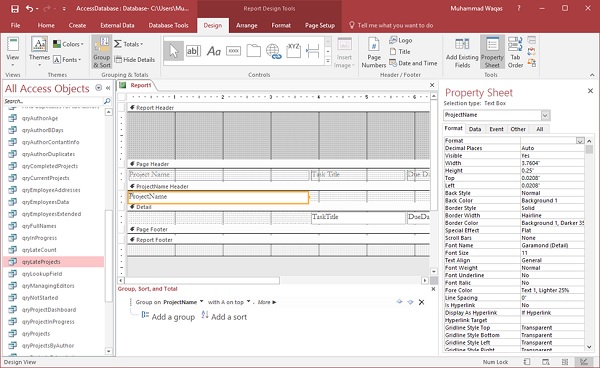
In the Grouping and Totals section of the Design tab, click on the Group and Sort button which will open Group, Sort, and Total area at the bottom as shown in the following screenshot.
You can now add additional groups or grouping on any control that you have in your report. Let us now click on Add a Group.
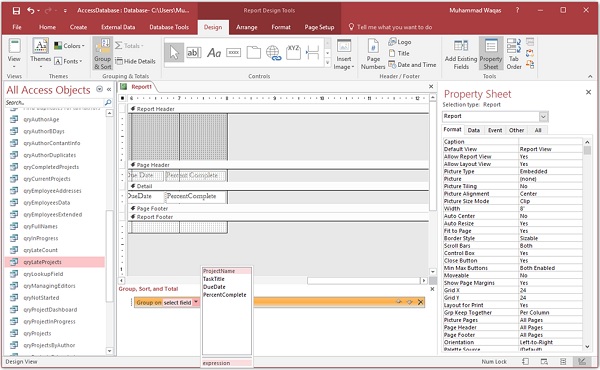
In the above screenshot, you can see the underlying control source for report with the project name, task title, due date and percent complete. Let us now say we want to group all of our late tasks by project, so select Project Name from the list.
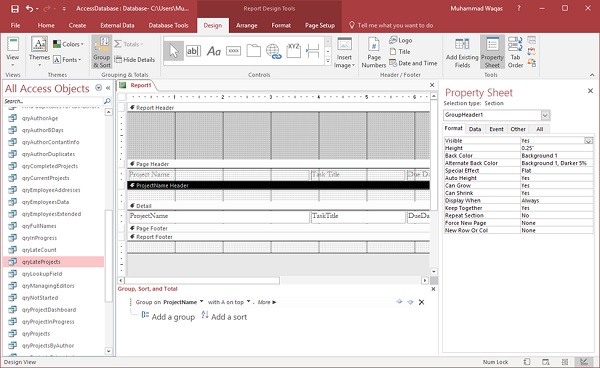
Now you will see an additional grouping level ProjectName Header above your details section. Instead of the project name appearing alongside each individual task that is late, we can now move this control up to this project name header. You can select it, and then press Ctrl + X on your keyboard to cut that from that details section and click anywhere in the background of that project name header, and then press Ctrl + V to paste that control in that project name header.
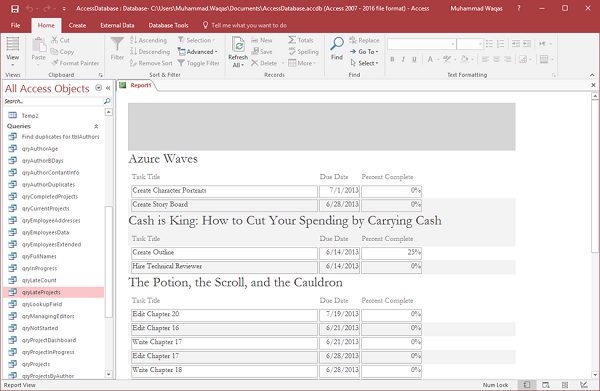
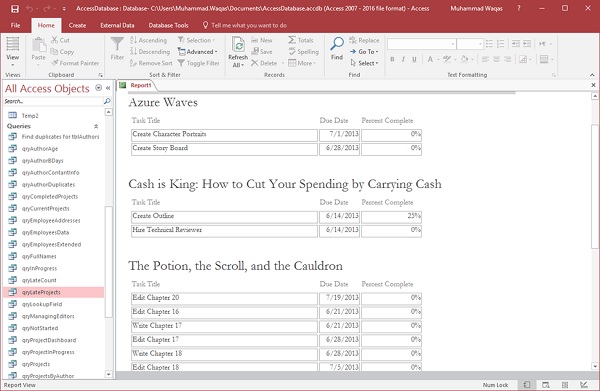
You can now go to the Report View and see the adjustments made to group the things in the report as in the following screenshot.
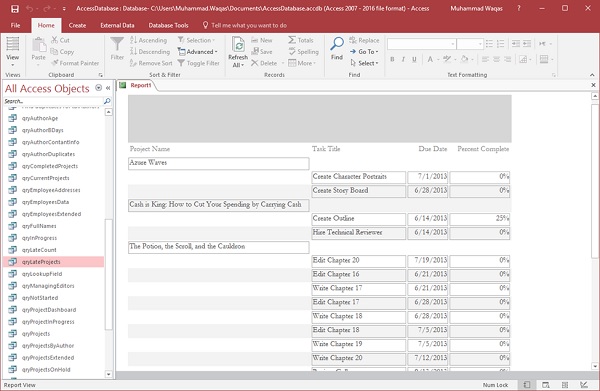
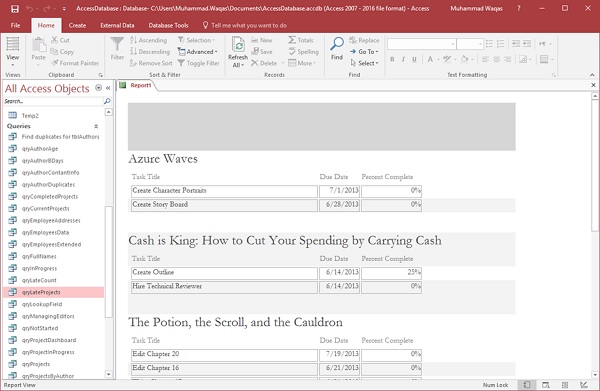
Every single project has its own little level on its own line, and then underneath that area you will see all of the tasks that are late for the above project. With that changed now, you can go through and start formatting your report in the Layout View.
If you want to make the project name bigger, then drag the line below and change the font size to 20 in the Format Tab.
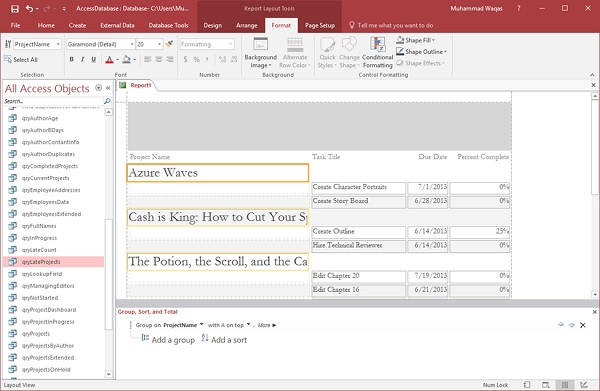
You can increase the width of the control to cover the entire width of the page.
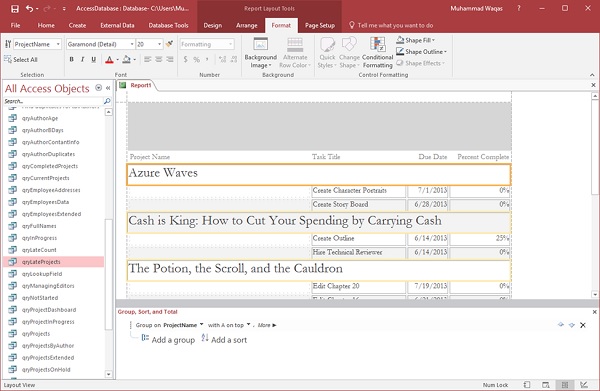
To remove the border around the control, click on the Shape Outline in the Format tab as in the following screenshot.
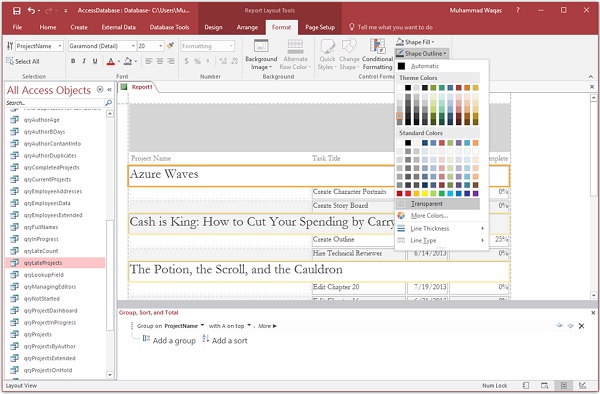
Select the Transparent option.
Let us now go to the Design View as in the following screenshot.
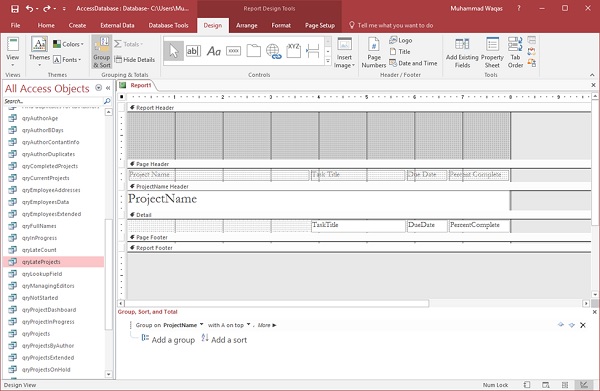
Adjust the task title to the left of your page as in the following screenshot.
Let us now bring the data from the Page Header section to the ProjectName header section using Ctrl+X and Ctrl+V.
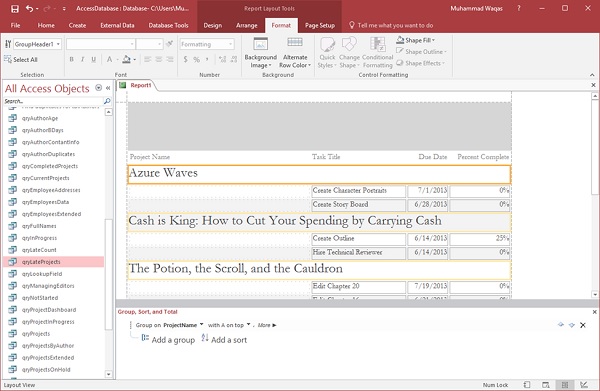
Let us now go back to the Report View. You will now see that the labels appear directly above the controls that they describe.
If you notice, you will see that there is no space between the tasks and the next project name. There should be additional space in between. For that, we need to add ProjectName Footer.
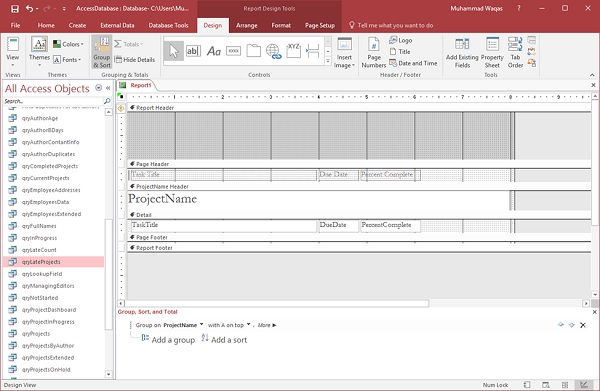
Now, go to the Design View.
In the Group, Sort and Total area click on the More button next to the project name.
You will now find all the options for how to group and sort by project name as in the following screenshot.

Here, we have a property called Without a Footer Section. Let us change that option by clicking on that little arrow next to the words Without a Footer Section.
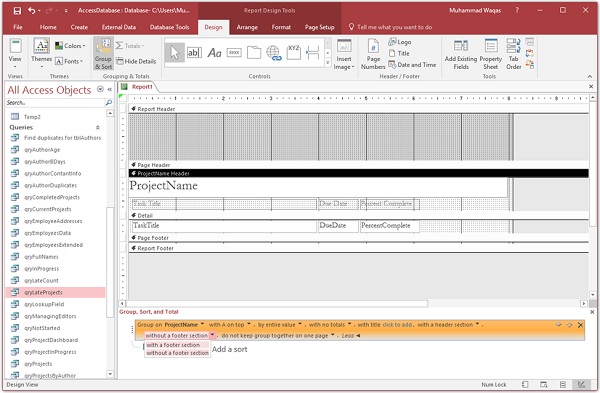
Change it to With a Footer Section.
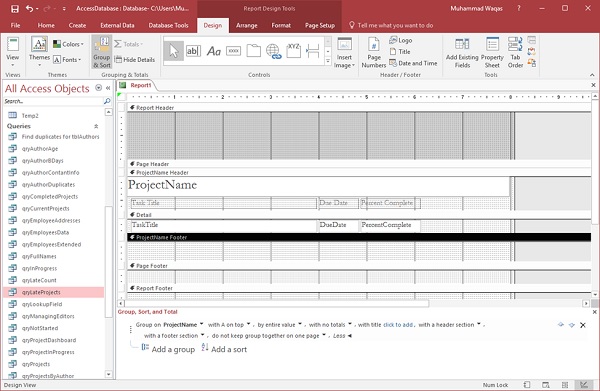
As you can see in the above screenshot that the ProjectName Footer section beneath the Details section is added. This will act as the footer for that project name group.
Let us now go back to the Report View.
To remove shading or the appearance of background for alternating areas in both the Details section and in the Project Name area, go to the Design View again.
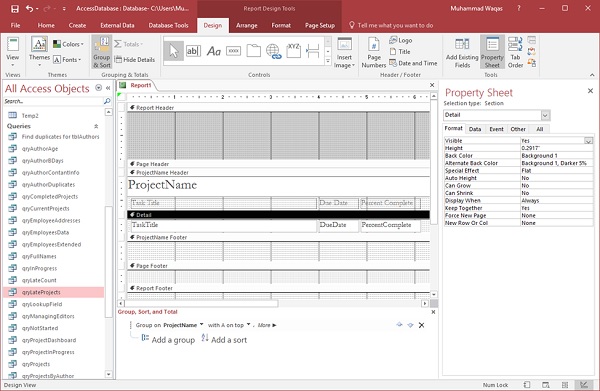
Let us change the Details section first by clicking on the detail divider and then open Properties sheet.
On the Format tab, change the Alternate Back Color to No Color as in the following screenshot.
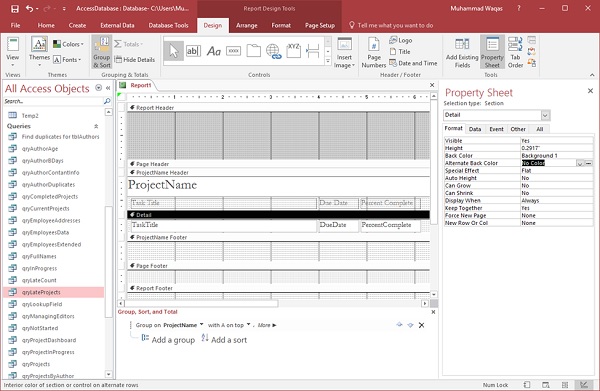
Similarly change the Alternate Back Color to No Color for both ProjectName Header and ProjectName Footer and go to Report View.
You can now see how the report looks. To see how your data will print page by page, let us go to the Print Preview.
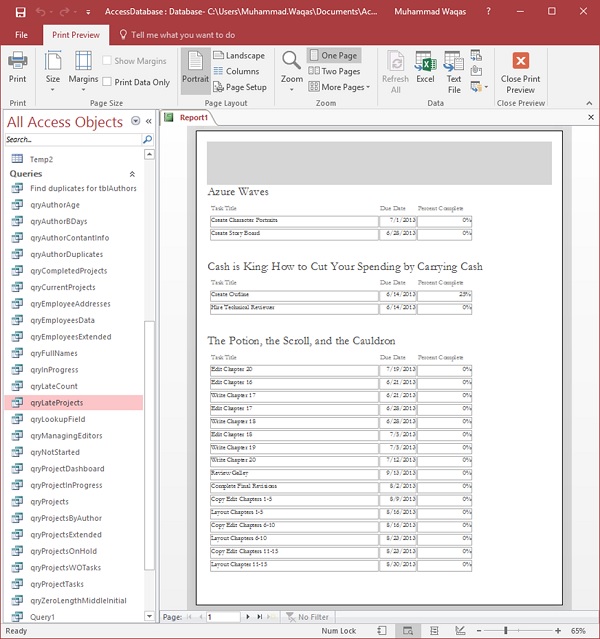
This is how it will look like when you print it.