

Installation and Account Setup
To create an account, you first need to install the Hub CLI. The CLI is where you:
- Manage accounts.
- Create orgs.
- Create API keys
- And more.
The first step is to download and install the application.
Download the Hub CLI Binary
Download the Hub CLI binary from the release landing page: https://github.com/textileio/textile/releases/latest.
You’ll see four different options – buckd, buck, hubd, and hub.
hub is the option you need. It provides all the functionality you’ll need to interact with the Textile Hub and Buckets.
You’ll also see different operating systems. Select the one that matches your computer.
Next, follow the installation instructions based on your operating system.
Mac Installation
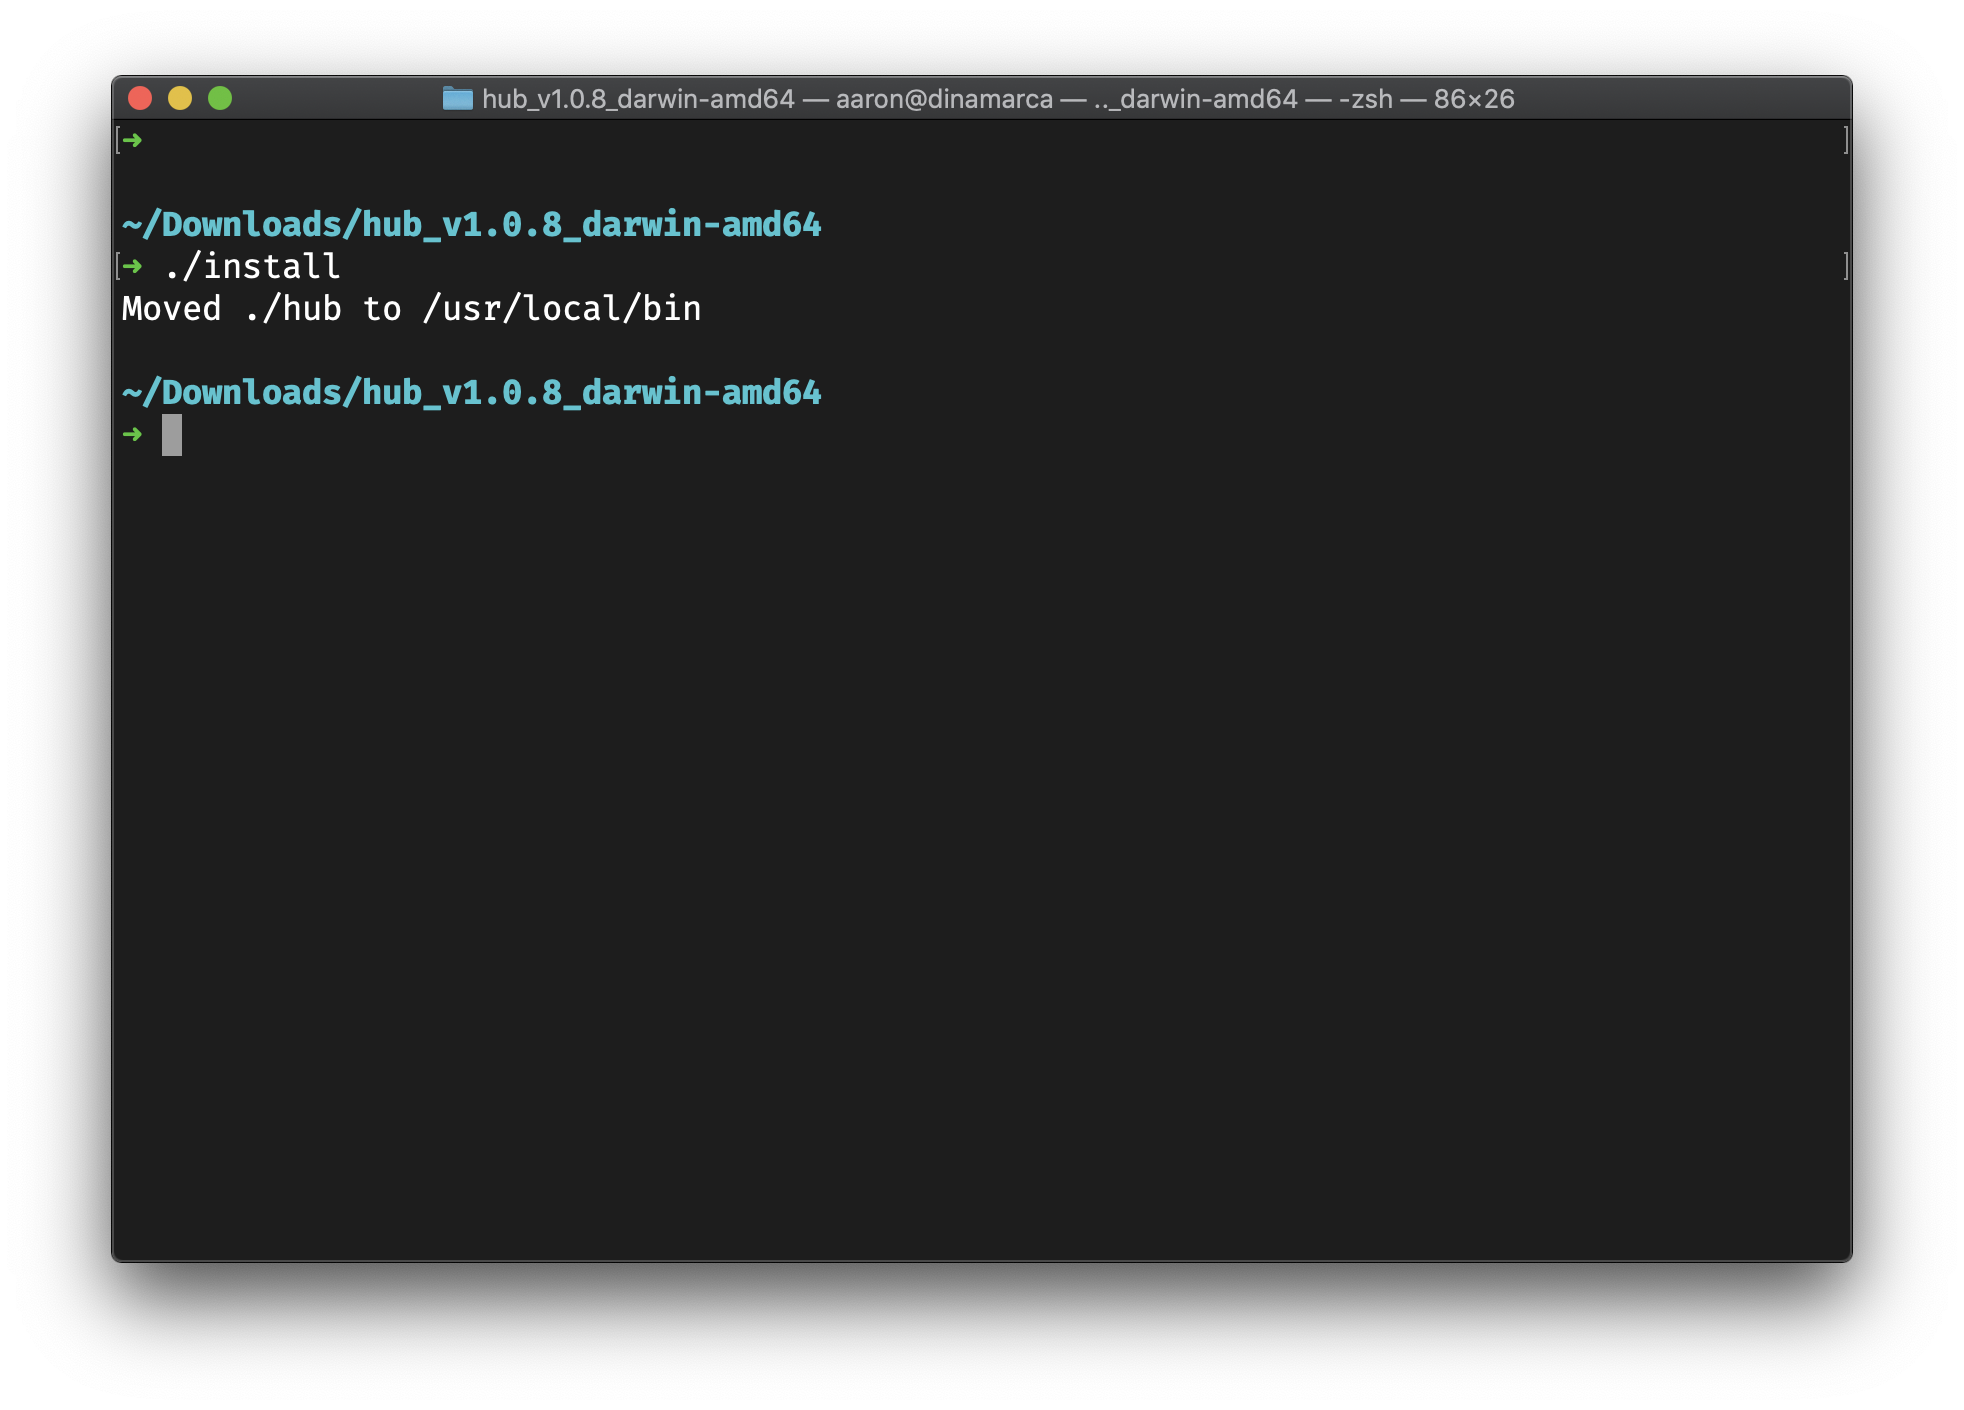
Open the contents of the downloaded archive and run the install script. This should install the hub tool on your computer. You can verify with `hub –help
On MacOS you will need to confirm that it is okay to run the hub binary before it runs successfully. You will see this warning:
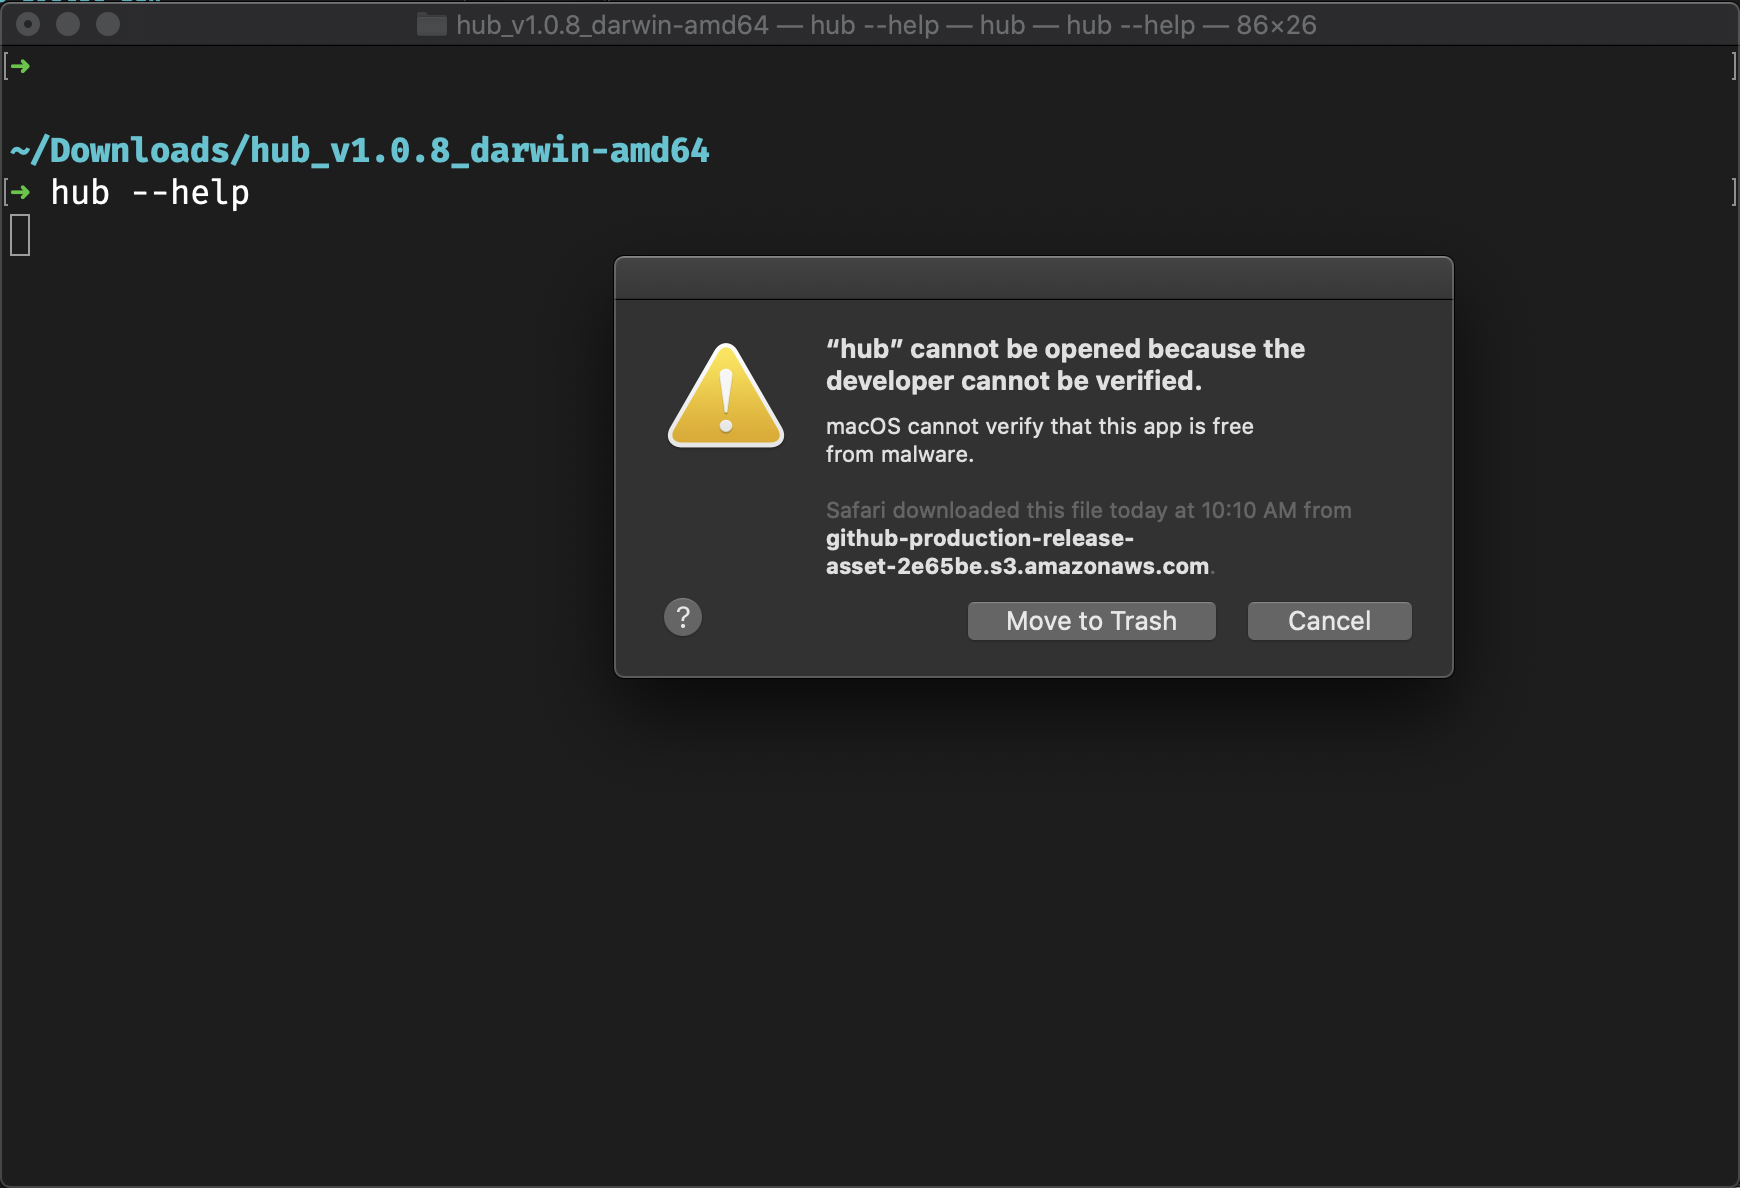
Select ‘Cancel.’
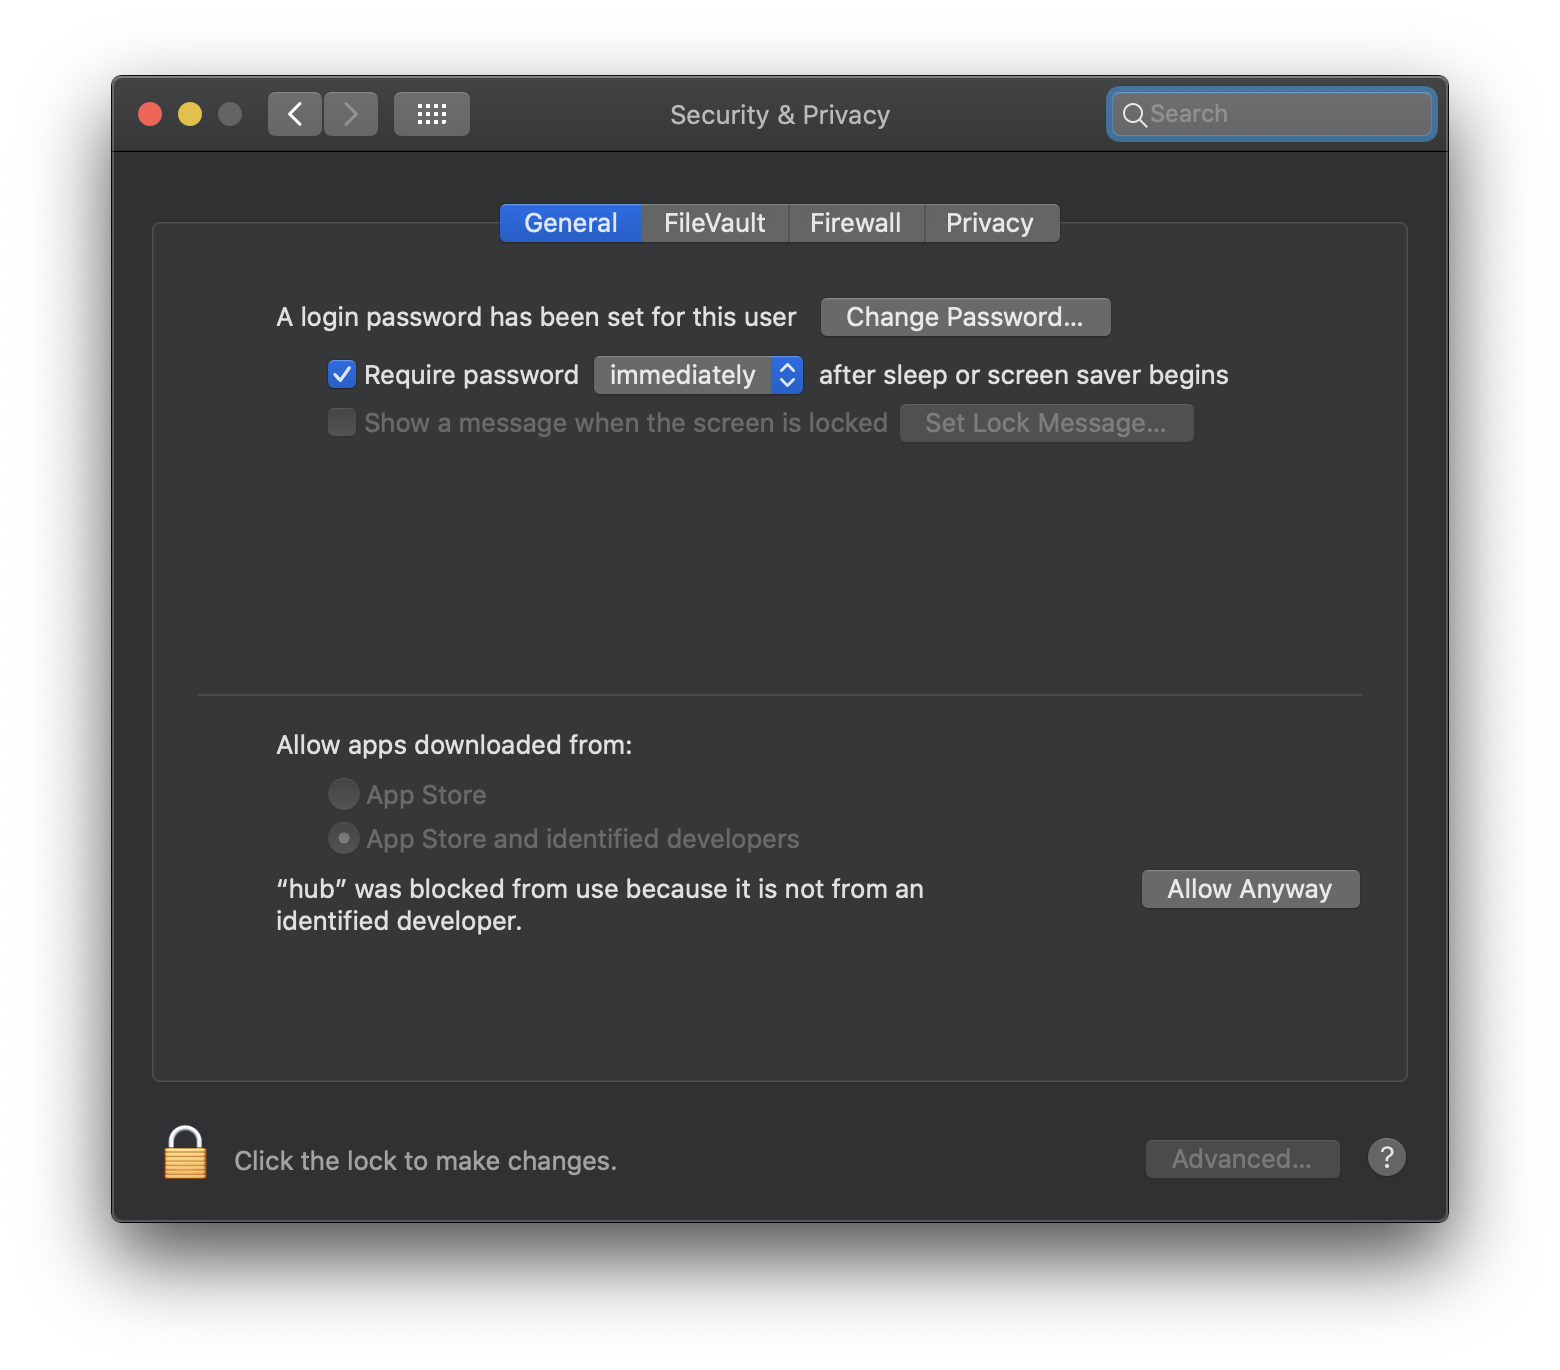
Go to ‘System Settings’ => ‘General’ where you will be able to click, ‘Allow Anyway.’
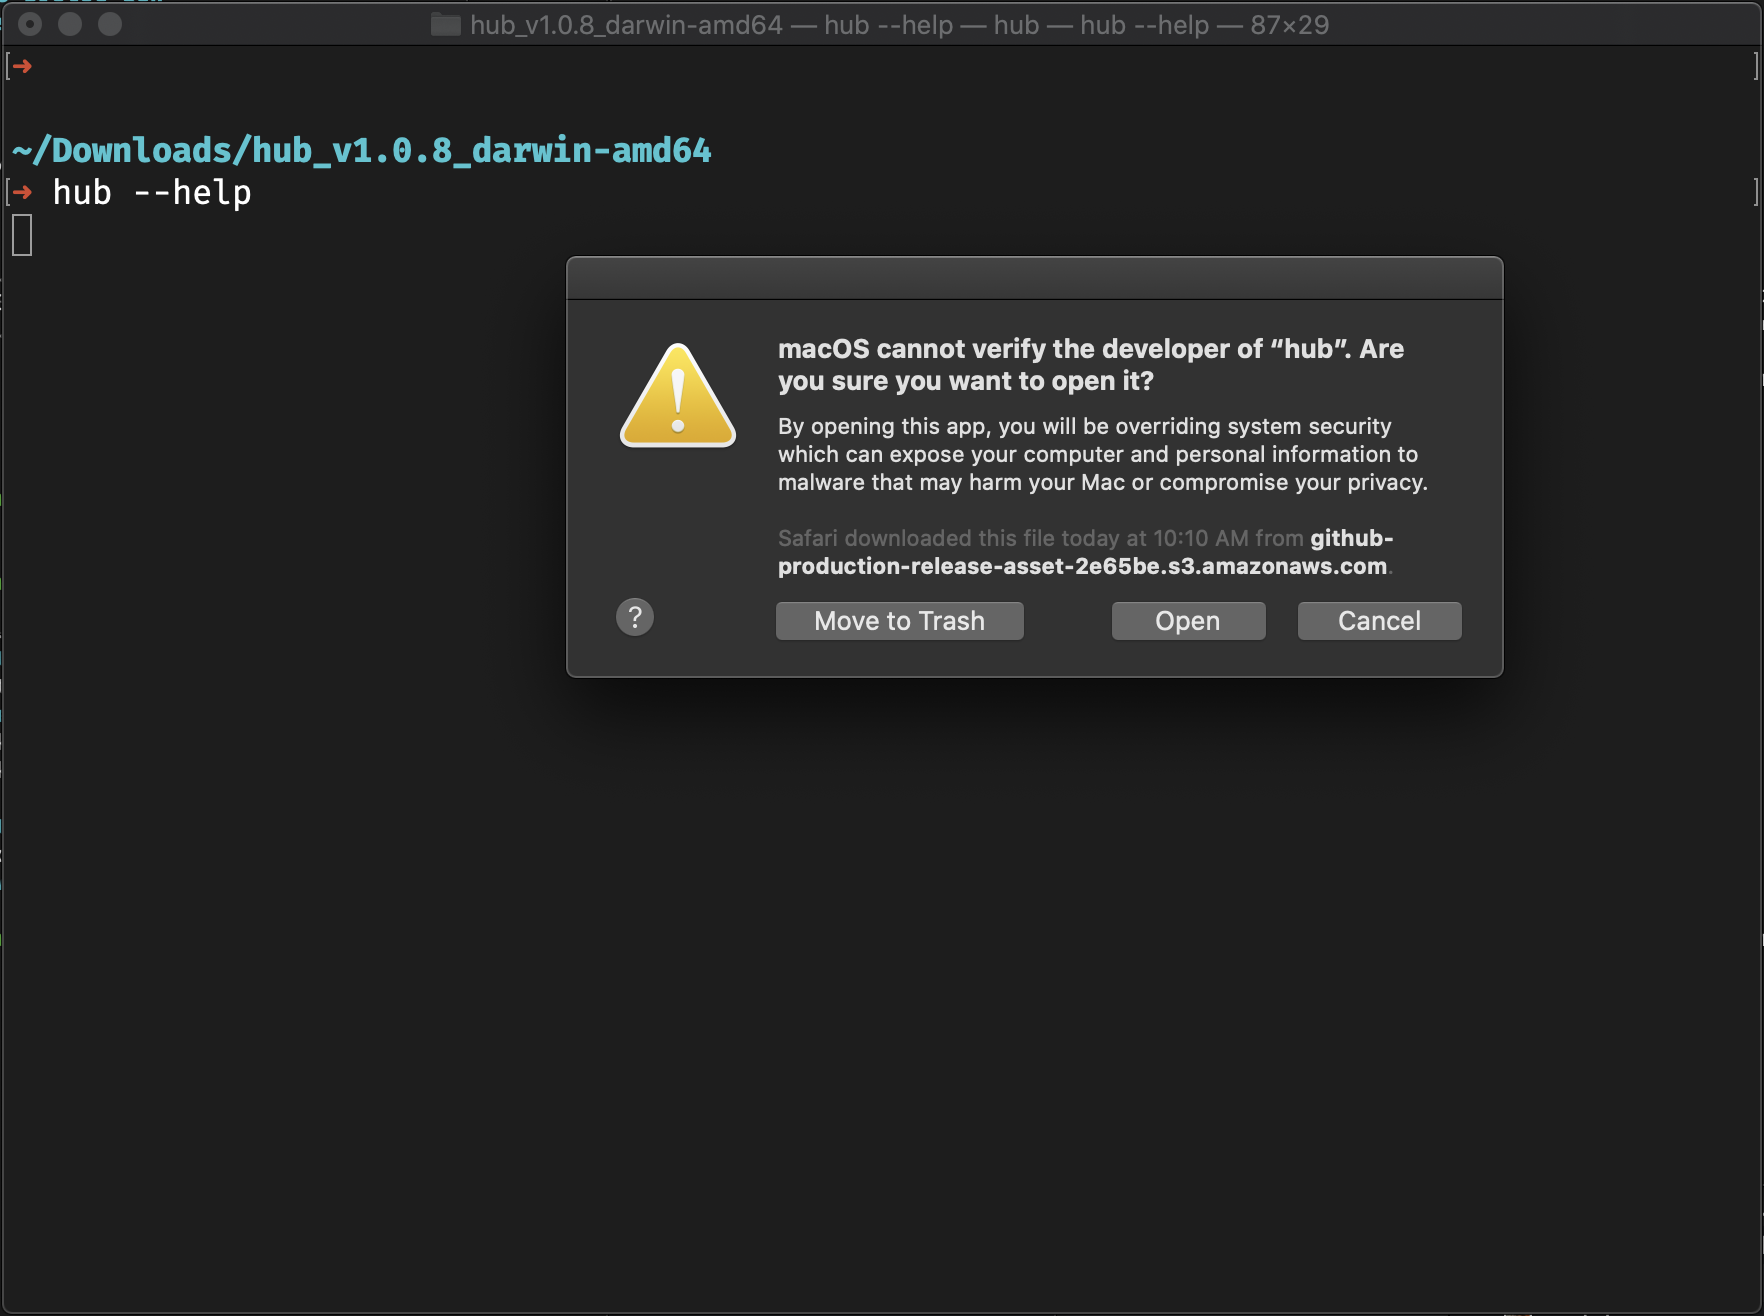
Run hub --help again and this time select, ‘Open` when prompted.
You will now be able to continue using the CLI without issue. When you update the binary, you may need to repeat the above steps. We will add developer signing to our MacOS binaries soon.
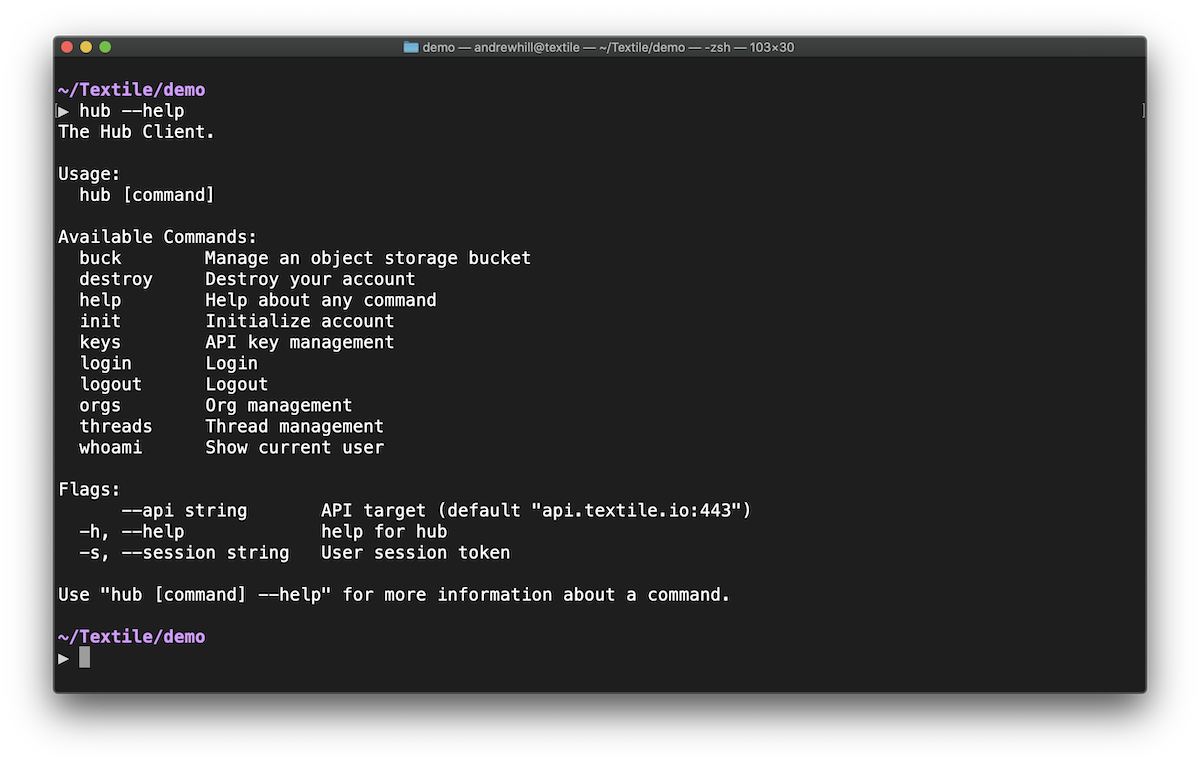
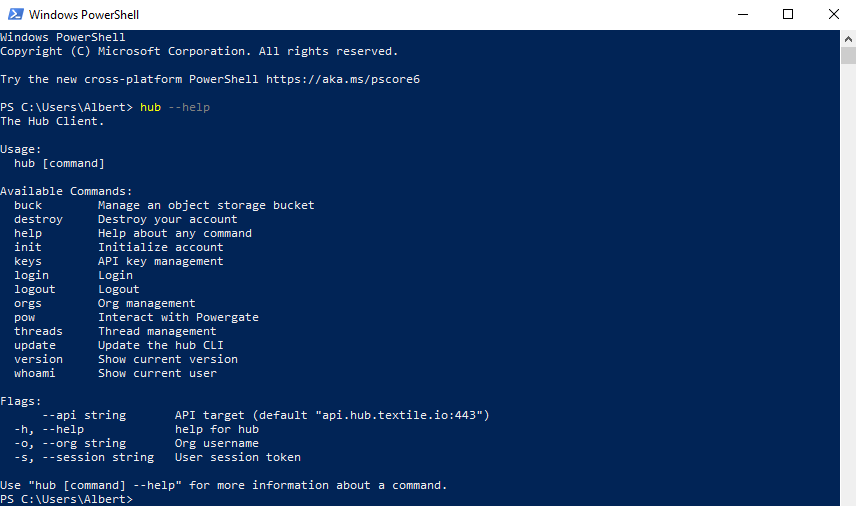
hub --help to print out the command docs.Windows Installation
The Windows Hub CLI binary comes with a hub.exe that runs hub commands.
You can use Power shell to work with the hub CLI by running the executable directly in your terminal like below.
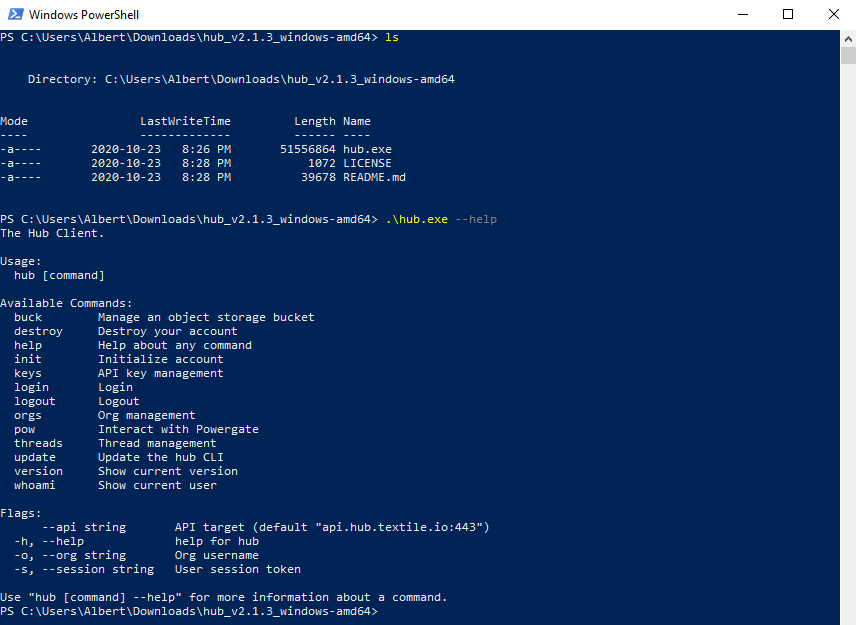
This method requires you to work in the same directory as hub.exe.
Another option is to add hub.exe to the PATH environment variable to access the hub command globally.
Adding hub.exe to the Path Environment Variable
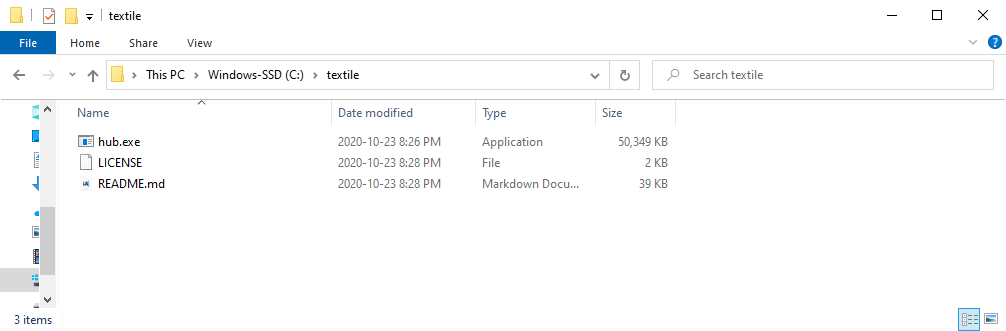
Rename the directory and place it in an accessible location like the C:\ directory.
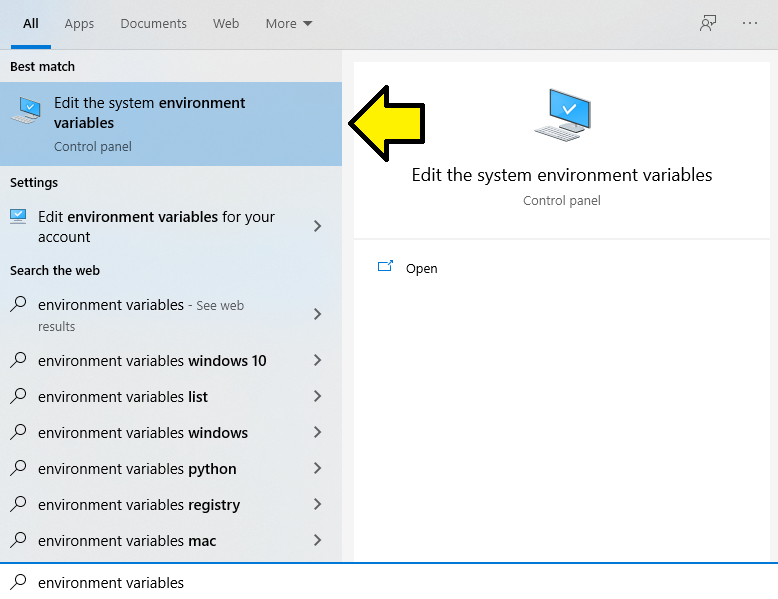
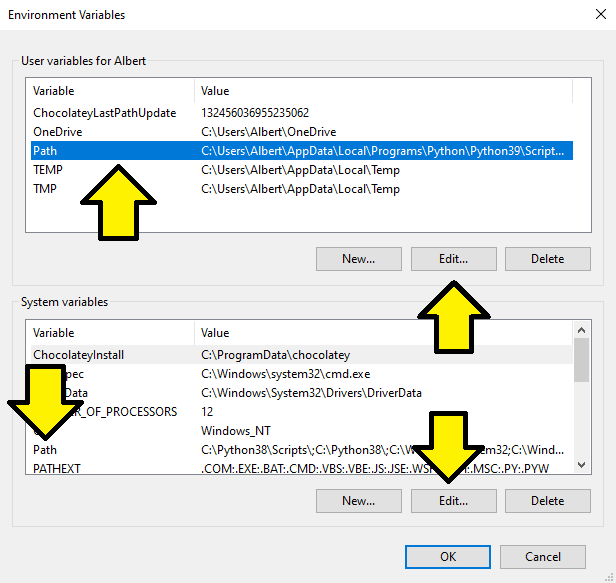
Open your environment variables settings by typing in ‘Environment variables’ in the Windows start menu and select the first option.
Select ‘Environment Variables’ at the bottom.

Select the ‘Path’ option from User variables if you want to have the Hub CLI available only to the current user, or from System variables if you want the hub CLI available for the whole system.
After ‘Path’ is selected, click ‘Edit.’
In the ‘Edit environment variables’ window, select ‘New’ and enter the location of your hub directory.
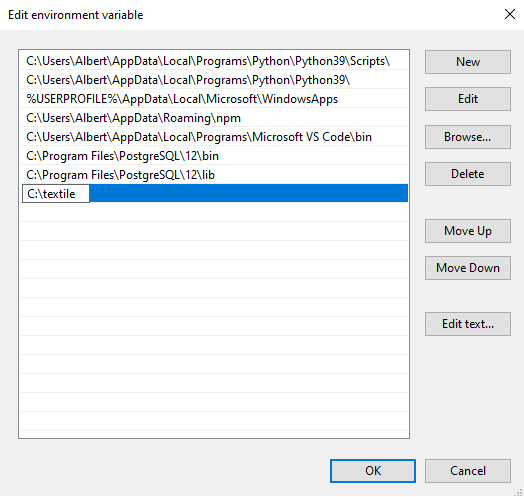
Click ‘OK’ to close all the windows.
Open up a new terminal instance and you should be able to run the hub command without being in the same directory as the executable.
Account setup
The next step is to initialize an account. The Hub CLI use magic-link sign in, so it only requires you to enter and verify a valid email.
Initialize
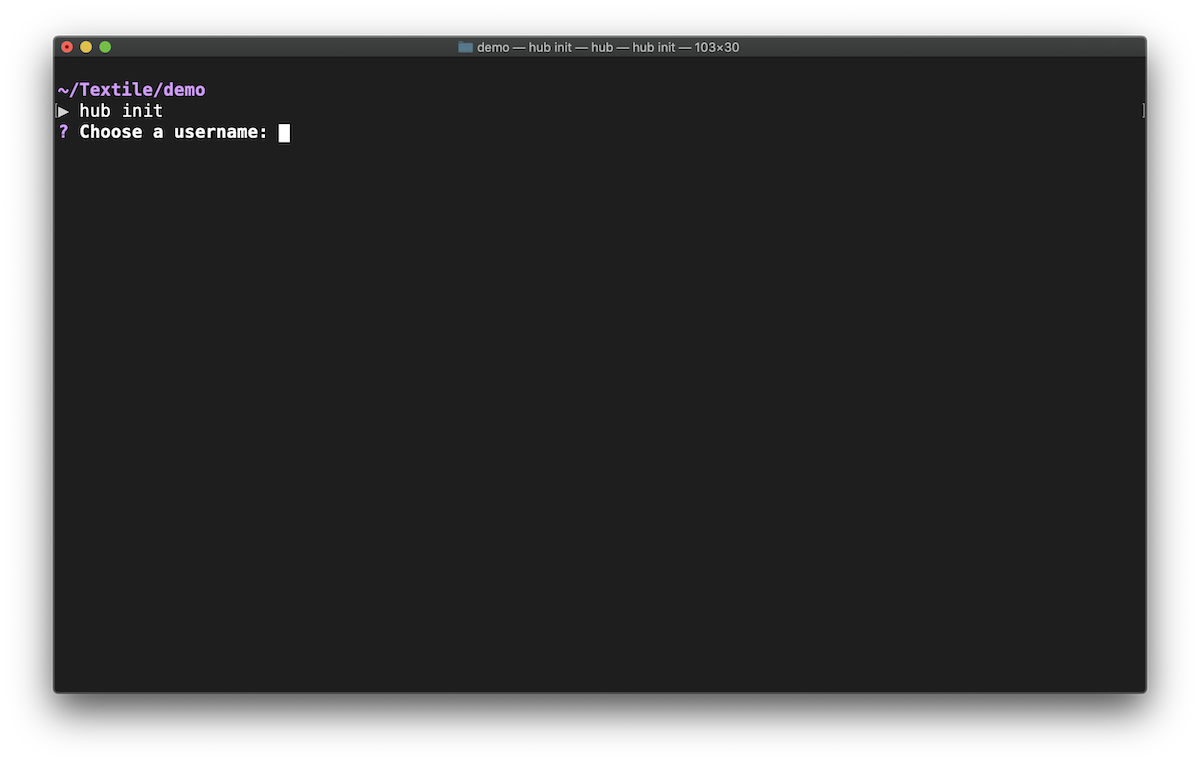
hub init
You have now created an account on the Textile Hub! You can now run all the available commands, such as hub --help, hub whoami, hub buckets, hub keys ls, hub logout, and hub login.
Login
Now that your account exists, the next time you use the CLI on a new computer, or after logging out, you simply need to login.
hub login
Organizations
Orgs allow multiple developers to work together using shared resources. Members of an organization can collaboratively manage, create, or remove API keys, and more.
You can create an org easily.
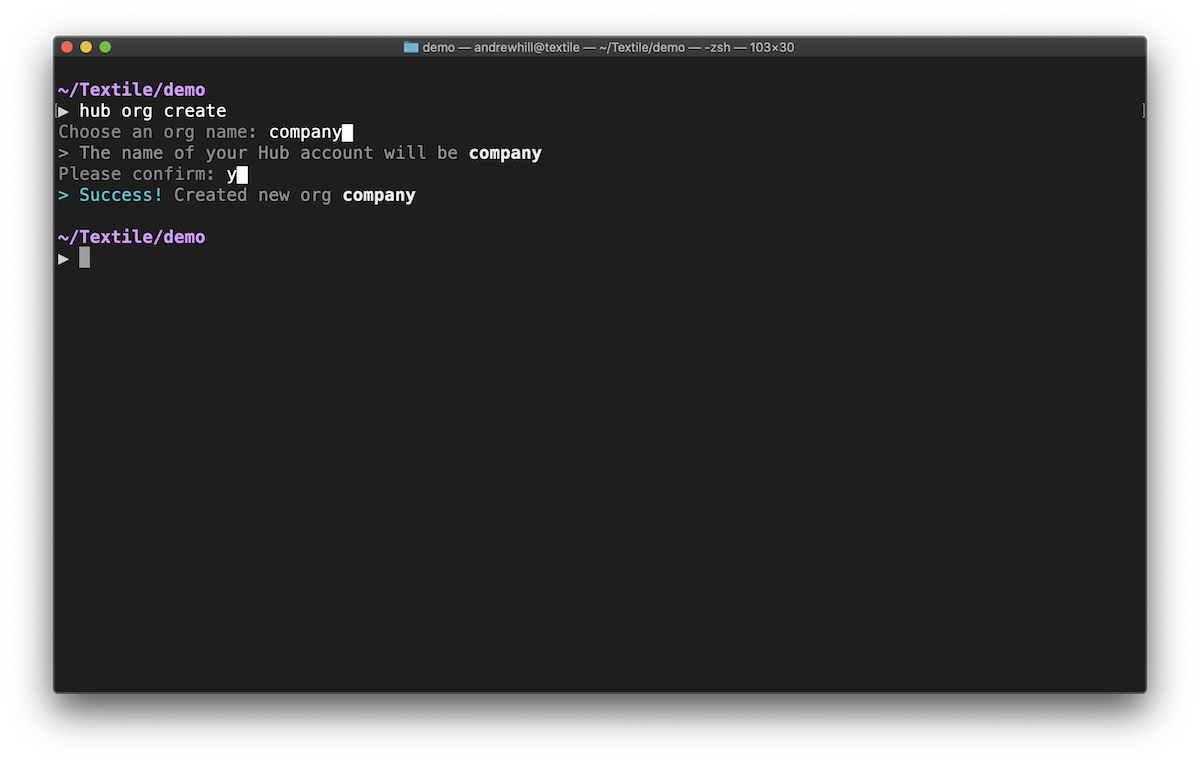
hub org create
Next, you can begin inviting collaborators by email addresses.
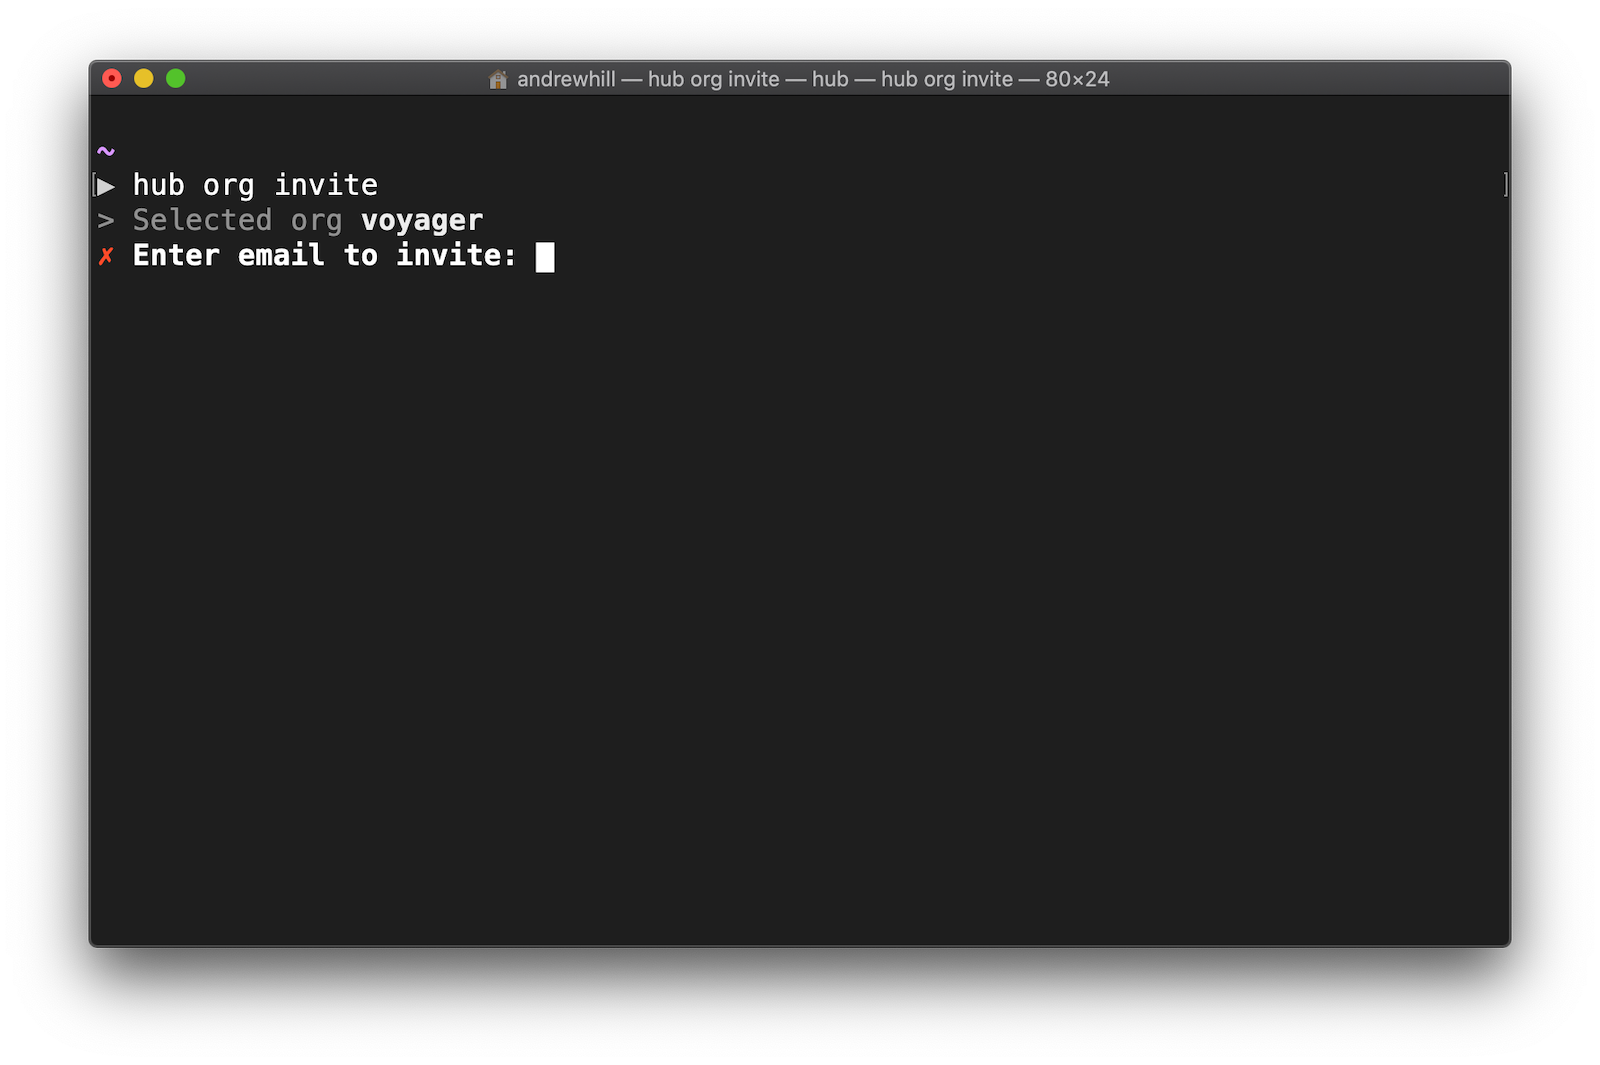
hub org invite
You can now share and collaborate with all org members. For example, when creating new buckets, you can create them in the org and immediately be available to your collaborators. Additionally, you can create and share API key admin.
Org bucket init
HUB_ORG=<org name> hub buck init
Org keys create
HUB_ORG=<org name> hub keys create