3 Ways to Change User Account Name in Windows 10
To change names of the user accounts on your Windows 10 PC, you can put the following three methods into practice.
More reading: How to Create Password for User Account in Windows 10.
Tips: Even if you set a strong password to Windows user account, it still can be reset or recovered with software in a short time. To get more detail, please see How to Reset Windows 10 Forgotten Password. So, I strongly recommend that you set a HDD password to your computer to raplace Windows password. For detail, see Detailed Explanation of HDD Password.
Way 1: Change account name in Control Panel.
Step 1: Access Control Panel/User Accounts and Family Safety/User Accounts.
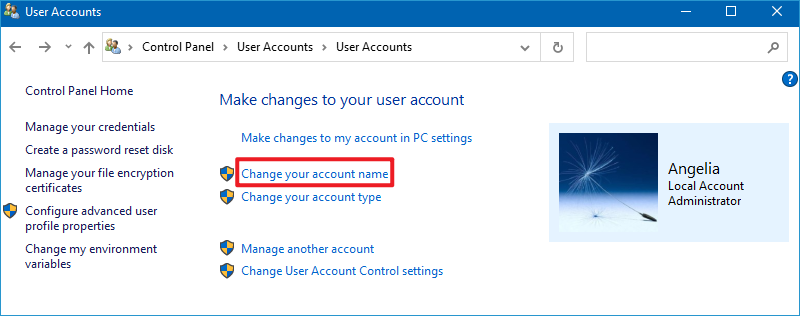
Step 2: Choose Change your account name.
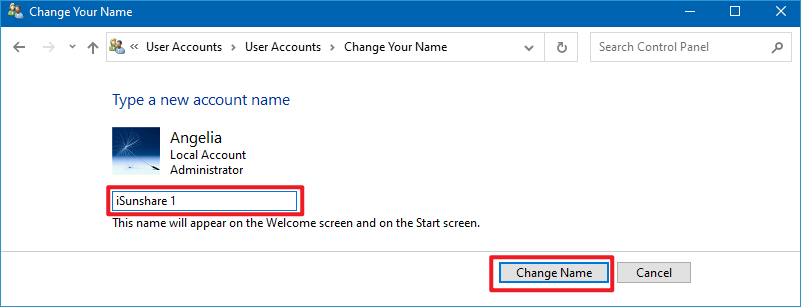
Step 3: Type a new name in the box and tap Change Name.
Way 2: Change account name in Local Users and Groups.
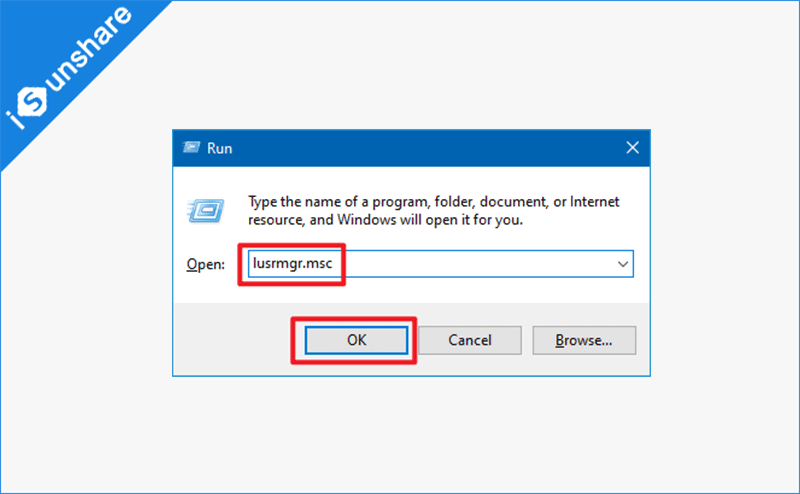
Step 1: Open Run by Windows+R, enter lusrmgr.msc and hit OK to open Local Users and Groups.
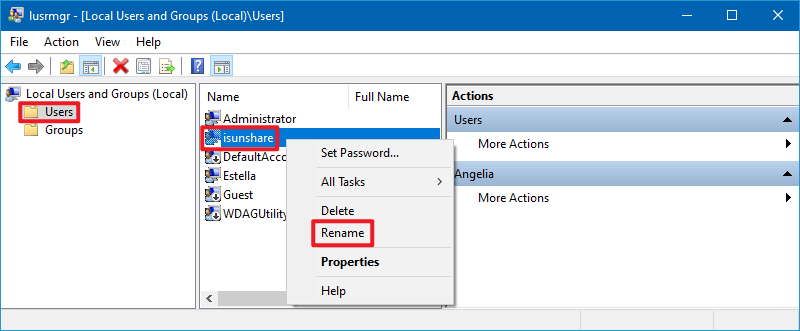
Step 2: Open the Users folder, right-click a user and select Rename in the menu.
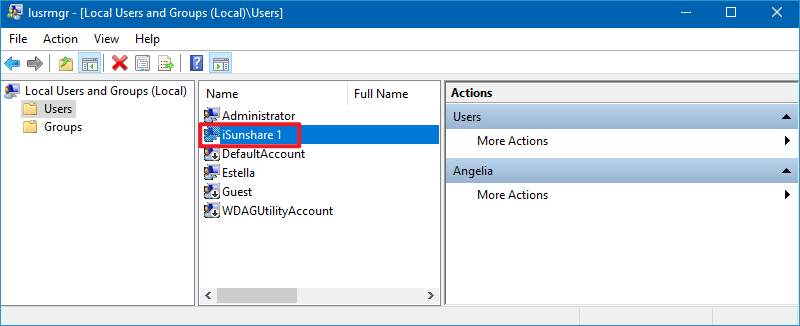
Step 3: Type a new name in the name box.
Way 3: Change administrator or guest name in Local Group Policy Editor.
Step 1: Access Local Group Policy Editor.
Step 2: Open Computer Configuration/Windows Settings/Security Settings/Local Policies/Security Options/Accounts: Rename administrator account (or Accounts: Rename guest account).
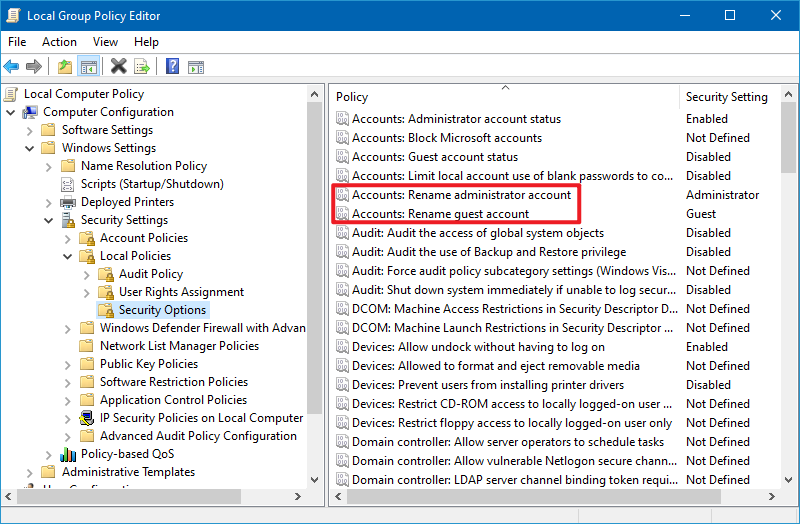
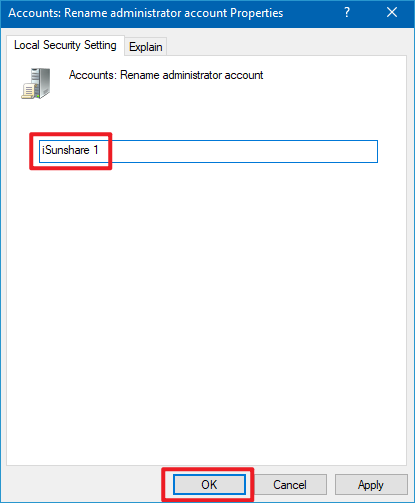
Step 3: Type a new name and hit OK.
