An HTML form is used to collect user input. The user input is most often sent to a server for processing.
The <form> Element
The HTML <form> element is used to create an HTML form for user input:<form>
.
form elements
.
</form>
The <form> element is a container for different types of input elements, such as: text fields, checkboxes, radio buttons, submit buttons, etc.
The <input> Element
The HTML <input> element is the most used form element.
An <input> element can be displayed in many ways, depending on the type attribute.
Here are some examples:
| Type | Description |
|---|---|
| <input type=”text”> | Displays a single-line text input field |
| <input type=”radio”> | Displays a radio button (for selecting one of many choices) |
| <input type=”checkbox”> | Displays a checkbox (for selecting zero or more of many choices) |
| <input type=”submit”> | Displays a submit button (for submitting the form) |
| <input type=”button”> | Displays a clickable button |
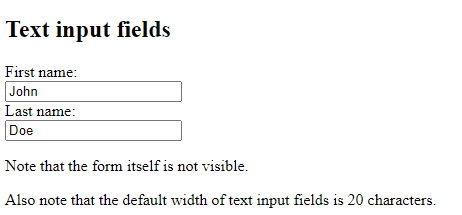
Text Fields
The <input type="text"> defines a single-line input field for text input.
Example
A form with input fields for text:
<!DOCTYPE html>
<html>
<body>
<h2>Text input fields</h2>
<form>
  <label for="fname">First name:</label><br>
  <input type="text" id="fname" name="fname" value="John"><br>
  <label for="lname">Last name:</label><br>
  <input type="text" id="lname" name="lname" value="Doe">
</form>
<p>Note that the form itself is not visible.</p>
<p>Also note that the default width of text input fields is 20 characters.</p>
</body>
</html>
The <label> Element
Notice the use of the <label> element in the example above.
The <label> tag defines a label for many form elements.
The <label> element is useful for screen-reader users, because the screen-reader will read out loud the label when the user focus on the input element.
The <label> element also help users who have difficulty clicking on very small regions (such as radio buttons or checkboxes) – because when the user clicks the text within the <label> element, it toggles the radio button/checkbox.
The for attribute of the <label> tag should be equal to the id attribute of the <input> element to bind them together.
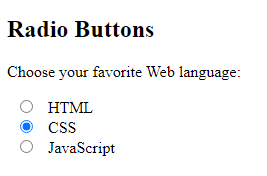
Radio Buttons
The <input type="radio"> defines a radio button.
Radio buttons let a user select ONE of a limited number of choices.
Example
A form with radio buttons:
<!DOCTYPE html>
<html>
<body>
<h2>Radio Buttons</h2>
<p>Choose your favorite Web language:</p>
<form>
  <input type="radio" id="html" name="fav_language" value="HTML">
  <label for="html">HTML</label><br>
  <input type="radio" id="css" name="fav_language" value="CSS">
  <label for="css">CSS</label><br>
  <input type="radio" id="javascript" name="fav_language" value="JavaScript">
  <label for="javascript">JavaScript</label>
</form>
</body>
</html>
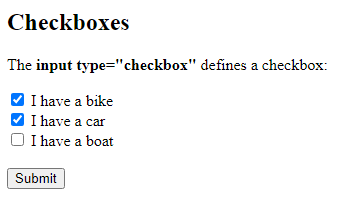
Checkboxes
The <input type="checkbox"> defines a checkbox.
Checkboxes let a user select ZERO or MORE options of a limited number of choices.
Example
A form with checkboxes:
<!DOCTYPE html>
<html>
<body>
<h2>Checkboxes</h2>
<p>The <strong>input type="checkbox"</strong> defines a checkbox:</p>
<form action="/action_page.php">
  <input type="checkbox" id="vehicle1" name="vehicle1" value="Bike">
  <label for="vehicle1"> I have a bike</label><br>
  <input type="checkbox" id="vehicle2" name="vehicle2" value="Car">
  <label for="vehicle2"> I have a car</label><br>
  <input type="checkbox" id="vehicle3" name="vehicle3" value="Boat">
  <label for="vehicle3"> I have a boat</label><br><br>
  <input type="submit" value="Submit">
</form>
</body>
</html>
The Submit Button
The <input type="submit"> defines a button for submitting the form data to a form-handler.
The form-handler is typically a file on the server with a script for processing input data.
The form-handler is specified in the form’s action attribute.
Example
A form with a submit button:
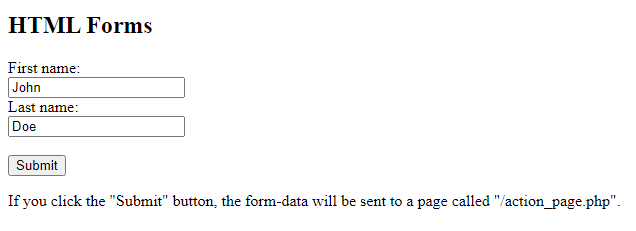
<!DOCTYPE html>
<html>
<body>
<h2>HTML Forms</h2>
<form action="/action_page.php">
  <label for="fname">First name:</label><br>
  <input type="text" id="fname" name="fname" value="John"><br>
  <label for="lname">Last name:</label><br>
  <input type="text" id="lname" name="lname" value="Doe"><br><br>
  <input type="submit" value="Submit">
</form>
<p>If you click the "Submit" button, the form-data will be sent to a page called "/action_page.php".</p>
</body>
</html>
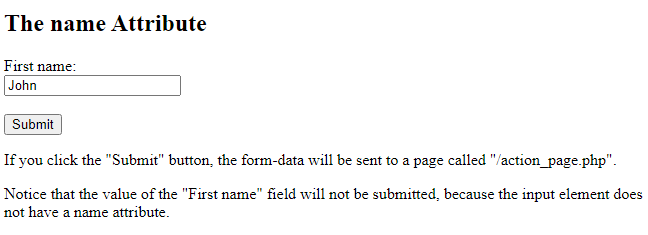
The Name Attribute for <input>
Notice that each input field must have a name attribute to be submitted.
If the name attribute is omitted, the value of the input field will not be sent at all.
Example
This example will not submit the value of the “First name” input field:
<!DOCTYPE html>
<html>
<body>
<h2>The name Attribute</h2>
<form action="/action_page.php">
  <label for="fname">First name:</label><br>
  <input type="text" id="fname" value="John"><br><br>
  <input type="submit" value="Submit">
</form>
<p>If you click the "Submit" button, the form-data will be sent to a page called "/action_page.php".</p>
<p>Notice that the value of the "First name" field will not be submitted, because the input element does not have a name attribute.</p>
</body>
</html>