This chapter describes the different attributes for the HTML <form> element.
The Action Attribute
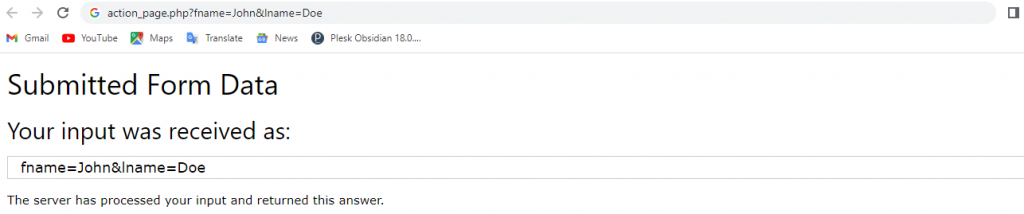
The action attribute defines the action to be performed when the form is submitted.
Usually, the form data is sent to a file on the server when the user clicks on the submit button.
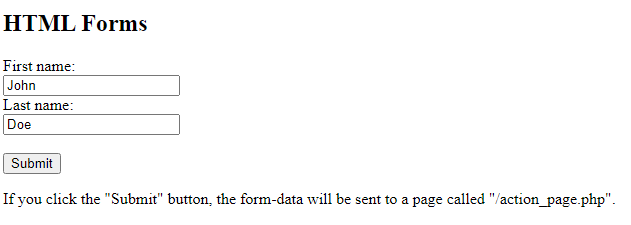
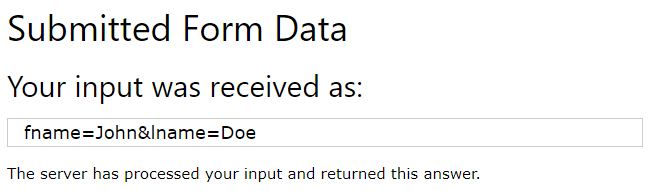
In the example below, the form data is sent to a file called “action_page.php”. This file contains a server-side script that handles the form data:
Example
On submit, send form data to “action_page.php”:
<!DOCTYPE html>
<html>
<body>
<h2>HTML Forms</h2>
<form action="/action_page.php">
  <label for="fname">First name:</label><br>
  <input type="text" id="fname" name="fname" value="John"><br>
  <label for="lname">Last name:</label><br>
  <input type="text" id="lname" name="lname" value="Doe"><br><br>
  <input type="submit" value="Submit">
</form>
<p>If you click the "Submit" button, the form-data will be sent to a page called "/action_page.php".</p>
</body>
</html>
The Target Attribute
The target attribute specifies where to display the response that is received after submitting the form.
The target attribute can have one of the following values:
| Value | Description |
|---|---|
| _blank | The response is displayed in a new window or tab |
| _self | The response is displayed in the current window |
| _parent | The response is displayed in the parent frame |
| _top | The response is displayed in the full body of the window |
| framename | The response is displayed in a named iframe |
The default value is _self which means that the response will open in the current window.
Example
Here, the submitted result will open in a new browser tab:
<!DOCTYPE html>
<html>
<body>
<h2>The form target attribute</h2>
<p>When submitting this form, the result will be opened in a new browser tab:</p>
<form action="/action_page.php" target="_blank">
  <label for="fname">First name:</label><br>
  <input type="text" id="fname" name="fname" value="John"><br>
  <label for="lname">Last name:</label><br>
  <input type="text" id="lname" name="lname" value="Doe"><br><br>
  <input type="submit" value="Submit">
</form>
</body>
</html>

The Method Attribute
The method attribute specifies the HTTP method to be used when submitting the form data.
The form-data can be sent as URL variables (with method="get") or as HTTP post transaction (with method="post").
The default HTTP method when submitting form data is GET.
Example
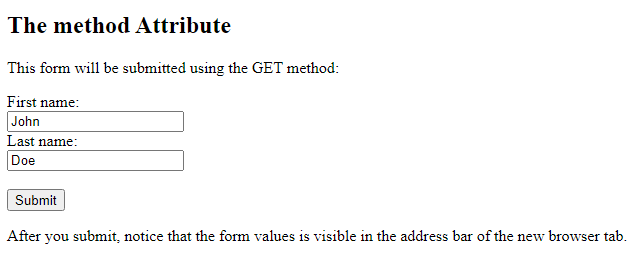
This example uses the GET method when submitting the form data:
<!DOCTYPE html>
<html>
<body>
<h2>The method Attribute</h2>
<p>This form will be submitted using the GET method:</p>
<form action="/action_page.php" target="_blank" method="get">
  <label for="fname">First name:</label><br>
  <input type="text" id="fname" name="fname" value="John"><br>
  <label for="lname">Last name:</label><br>
  <input type="text" id="lname" name="lname" value="Doe"><br><br>
  <input type="submit" value="Submit">
</form>
<p>After you submit, notice that the form values is visible in the address bar of the new browser tab.</p>
</body>
</html>
Example
This example uses the POST method when submitting the form data:
<!DOCTYPE html>
<html>
<body>
<h2>The method Attribute</h2>
<p>This form will be submitted using the POST method:</p>
<form action="/action_page.php" target="_blank" method="post">
  <label for="fname">First name:</label><br>
  <input type="text" id="fname" name="fname" value="John"><br>
  <label for="lname">Last name:</label><br>
  <input type="text" id="lname" name="lname" value="Doe"><br><br>
  <input type="submit" value="Submit">
</form><p>After you submit, notice that, unlike the GET method, the form values is NOT visible in the address bar of the new browser tab.</p>
</body>
</html>
Notes on GET:
- Appends the form data to the URL, in name/value pairs
- NEVER use GET to send sensitive data! (the submitted form data is visible in the URL!)
- The length of a URL is limited (2048 characters)
- Useful for form submissions where a user wants to bookmark the result
- GET is good for non-secure data, like query strings in Google
Notes on POST:
- Appends the form data inside the body of the HTTP request (the submitted form data is not shown in the URL)
- POST has no size limitations, and can be used to send large amounts of data.
- Form submissions with POST cannot be bookmarked
The Autocomplete Attribute
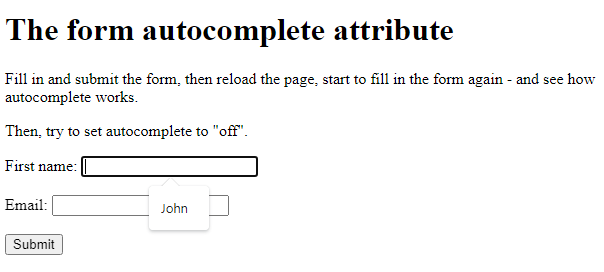
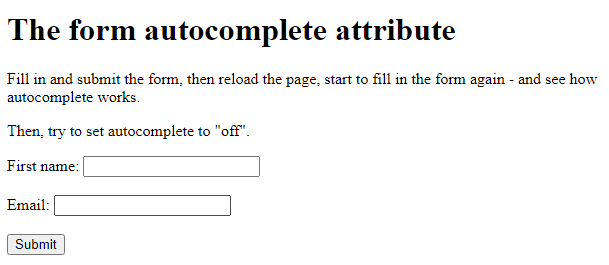
The autocomplete attribute specifies whether a form should have autocomplete on or off.
When autocomplete is on, the browser automatically complete values based on values that the user has entered before.
Example
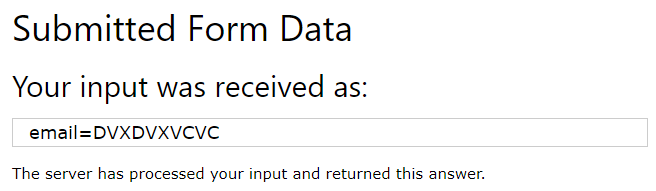
A form with autocomplete on:
- e attribute
Run ❯Get your own websiteResult Size: 668 x 439
<!DOCTYPE html>
<html>
<body>
<h1>The form autocomplete attribute</h1>
<p>Fill in and submit the form, then reload the page, start to fill in the form again - and see how autocomplete works.</p>
<p>Then, try to set autocomplete to "off".</p>
<form action="/action_page.php" autocomplete="on">
  <label for="fname">First name:</label>
  <input type="text" id="fname" name="fname"><br><br>
  <label for="email">Email:</label>
  <input type="text" id="email" name="email"><br><br>
  <input type="submit">
</form>
</body>
</html>
The Novalidate Attribute
The novalidate attribute is a boolean attribute.
When present, it specifies that the form-data (input) should not be validated when submitted.
Example
A form with a novalidate attribute:
<!DOCTYPE html>
<html>
<body>
<h1>The form novalidate attribute</h1>
<p>The novalidate attribute indicates that the form input is not to be validated on submit:</p
<form action="/action_page.php" novalidate>
  <label for="email">Enter your email:</label>
  <input type="email" id="email" name="email"><br><br>
  <input type="submit">
</form>
<p><strong>Note:</strong> The novalidate attribute of the form tag is not supported in Safari 10 (or earlier).</p>
</body>
</html>