This chapter describes all the different HTML form elements.
The HTML <form> Elements
The HTML <form> element can contain one or more of the following form elements:
<input><label><select><textarea><button><fieldset><legend><datalist><output><option><optgroup>
The <input> Element
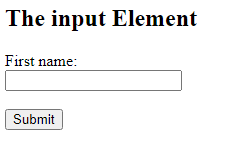
One of the most used form element is the <input> element.
The <input> element can be displayed in several ways, depending on the type attribute.
Example
<!DOCTYPE html>
<html>
<body>
<h2>The input Element</h2>
<form action="/action_page.php">
  <label for="fname">First name:</label><br>
  <input type="text" id="fname" name="fname"><br><br>
  <input type="submit" value="Submit">
</form>
</body>
</html>
The <label> Element
The <label> element defines a label for several form elements.
The <label> element is useful for screen-reader users, because the screen-reader will read out loud the label when the user focus on the input element.
The <label> element also help users who have difficulty clicking on very small regions (such as radio buttons or checkboxes) – because when the user clicks the text within the <label> element, it toggles the radio button/checkbox.
The for attribute of the <label> tag should be equal to the id attribute of the <input> element to bind them together.
The <select> Element
The <select> element defines a drop-down list:
Example
<!DOCTYPE html>
<html>
<body>
<h2>The select Element</h2>
<p>The select element defines a drop-down list:</p>
<form action="/action_page.php">
  <label for="cars">Choose a car:</label>
  <select id="cars" name="cars">
    <option value="volvo">Volvo</option>
    <option value="saab">Saab</option>
    <option value="fiat">Fiat</option>
    <option value="audi">Audi</option>
  </select>
  <input type="submit">
</form>
</body>
</html>
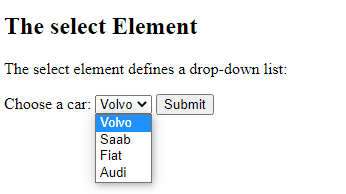
The <option> elements defines an option that can be selected.
By default, the first item in the drop-down list is selected.
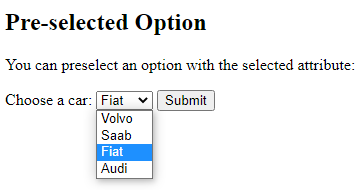
To define a pre-selected option, add the selected attribute to the option:
Example
<option value=”fiat” selected>Fiat</option>
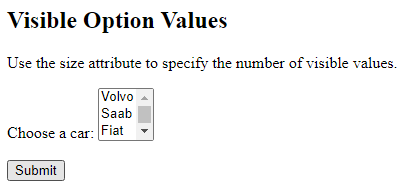
Visible Values:
Use the size attribute to specify the number of visible values:
Example
<label for=”cars”>Choose a car:</label>
<select id=”cars” name=”cars” size=”3″>
<option value=”volvo”>Volvo</option>
<option value=”saab”>Saab</option>
<option value=”fiat”>Fiat</option>
<option value=”audi”>Audi</option>
</select>
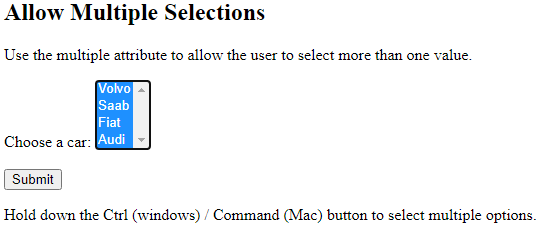
Allow Multiple Selections:
Use the multiple attribute to allow the user to select more than one value:
Example
<label for=”cars”>Choose a car:</label>
<select id=”cars” name=”cars” size=”4″multiple>
<option value=”volvo”>Volvo</option>
<option value=”saab”>Saab</option>
<option value=”fiat”>Fiat</option>
<option value=”audi”>Audi</option>
</select>
The <textarea> Element
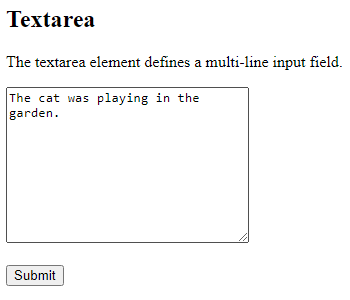
The <textarea> element defines a multi-line input field (a text area):
Example
<!DOCTYPE html>
<html>
<body>
<h2>Textarea</h2>
<p>The textarea element defines a multi-line input field.</p>
<form action="/action_page.php">
  <textarea name="message" rows="10" cols="30">The cat was playing in the garden.</textarea>
  <br><br>
  <input type="submit">
</form>
</body>
</html>
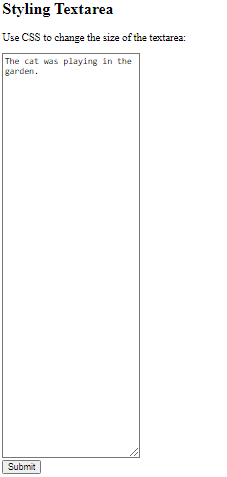
You can also define the size of the text area by using CSS:
Example
<textarea name=”message” style=”width:200px; height:600px;”>
The cat was playing in the garden.
</textarea>
The <button> Element
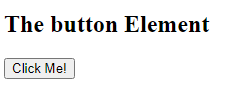
The <button> element defines a clickable button:
Example
<!DOCTYPE html>
<html>
<body>
<h2>The button Element</h2>
<button type="button" onclick="alert('Hello World!')">Click Me!</button>
</body>
</html>
The <fieldset> and <legend> Elements
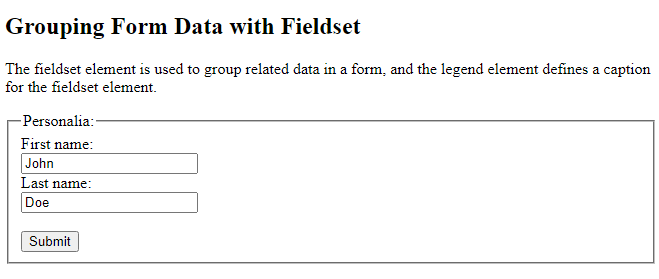
The <fieldset> element is used to group related data in a form.
The <legend> element defines a caption for the <fieldset> element.
Example
<!DOCTYPE html>
<html>
<body>
<h2>Grouping Form Data with Fieldset</h2>
<p>The fieldset element is used to group related data in a form, and the legend element defines a caption for the fieldset element.</p>
<form action="/action_page.php">
  <fieldset>
    <legend>Personalia:</legend>
    <label for="fname">First name:</label><br>
    <input type="text" id="fname" name="fname" value="John"><br>
    <label for="lname">Last name:</label><br>
    <input type="text" id="lname" name="lname" value="Doe"><br><br>
    <input type="submit" value="Submit">
  </fieldset>
</form>
</body>
</html>
The <datalist> Element
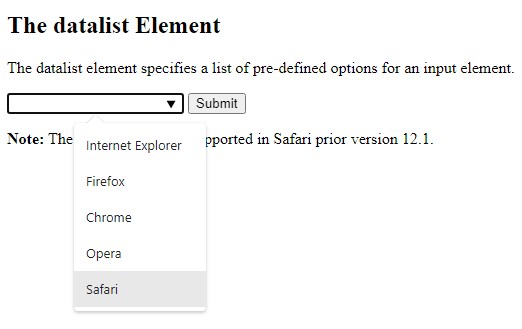
The <datalist> element specifies a list of pre-defined options for an <input> element.
Users will see a drop-down list of the pre-defined options as they input data.
The list attribute of the <input> element, must refer to the id attribute of the <datalist> element.
Example
<!DOCTYPE html> <html> <body> <h2>The datalist Element</h2> <p>The datalist element specifies a list of pre-defined options for an input element.</p> <form action="/action_page.php"> <input list="browsers" name="browser"> <datalist id="browsers"> <option value="Internet Explorer"> <option value="Firefox"> <option value="Chrome"> <option value="Opera"> <option value="Safari"> </datalist> <input type="submit"> </form> <p><b>Note:</b> The datalist tag is not supported in Safari prior version 12.1.</p> </body> </html>
The <output> Element
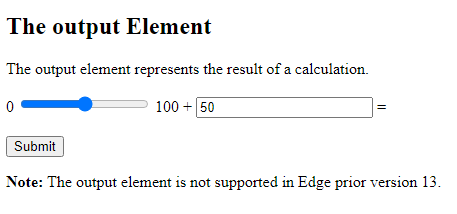
The <output> element represents the result of a calculation (like one performed by a script).
Example
Perform a calculation and show the result in an <output> element:
<!DOCTYPE html>
<html>
<body>
<h2>The output Element</h2>
<p>The output element represents the result of a calculation.</p>
<form action="/action_page.php"
oninput="x.value=parseInt(a.value)+parseInt(b.value)">
0
  <input type="range" id="a" name="a" value="50">
100 +
<input type="number" id="b" name="b" value="50">
  =
  <output name="x" for="a b"></output>
  <br><br>
  <input type="submit">
</form>
<p><strong>Note:</strong> The output element is not supported in Edge prior version 13.</p>
</body>
</html>
